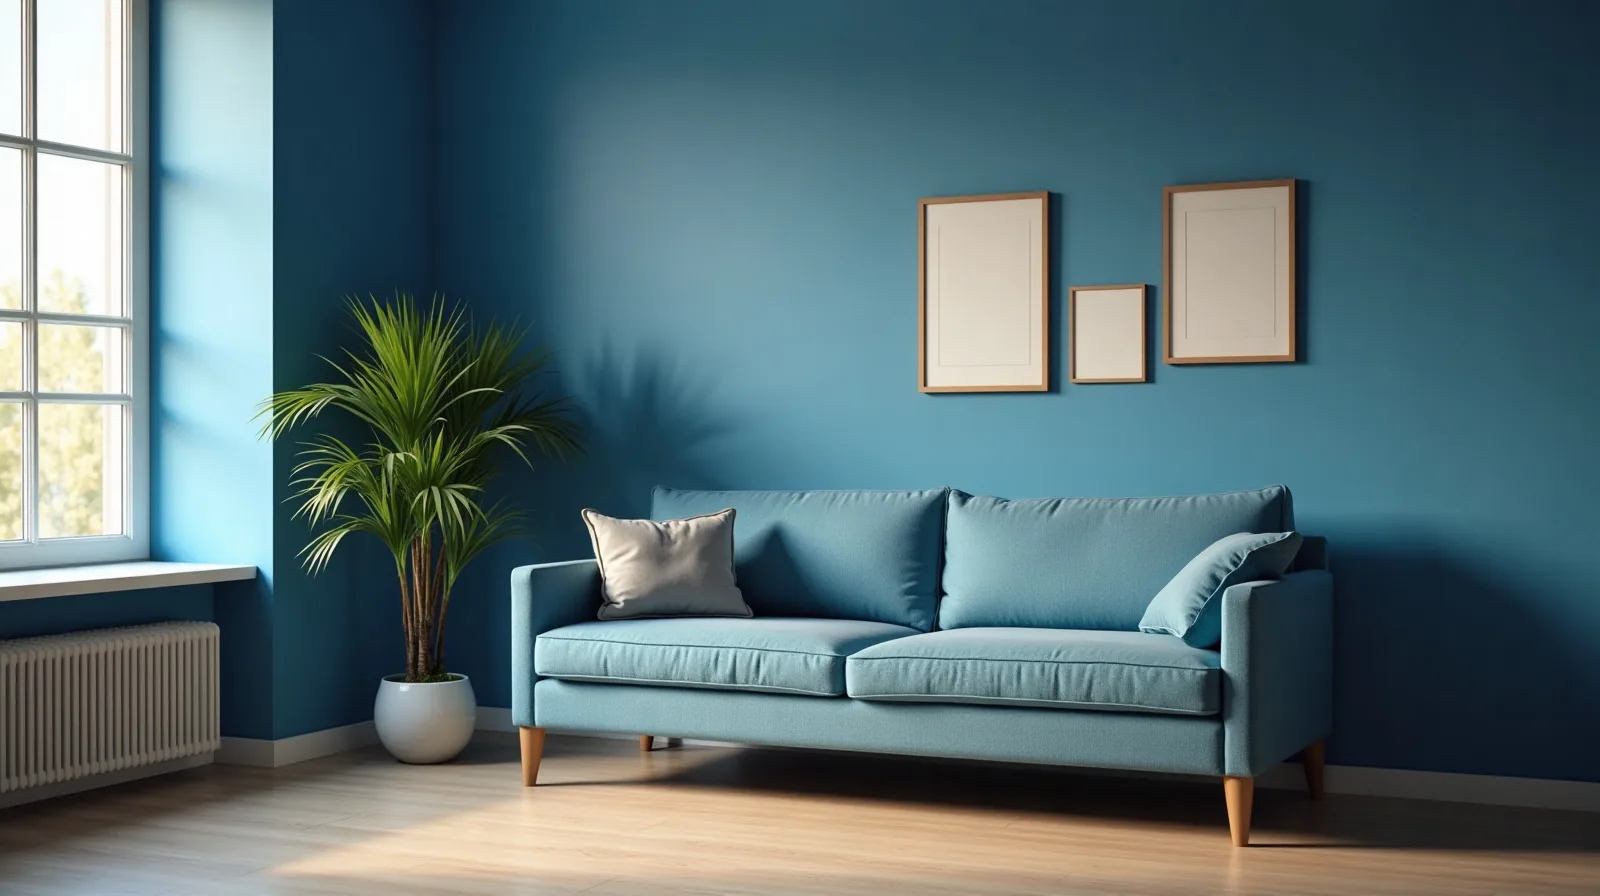
A wall of framed pictures can follow every rule about level and centered and still look like a handful of unrelated objects competing for attention. The difference between that and a gallery wall that reads as one piece comes down to planning before a single nail goes in, choosing one anchor piece, and holding a few spacing rules steady throughout.
Plan It on Paper Before You Touch the Wall
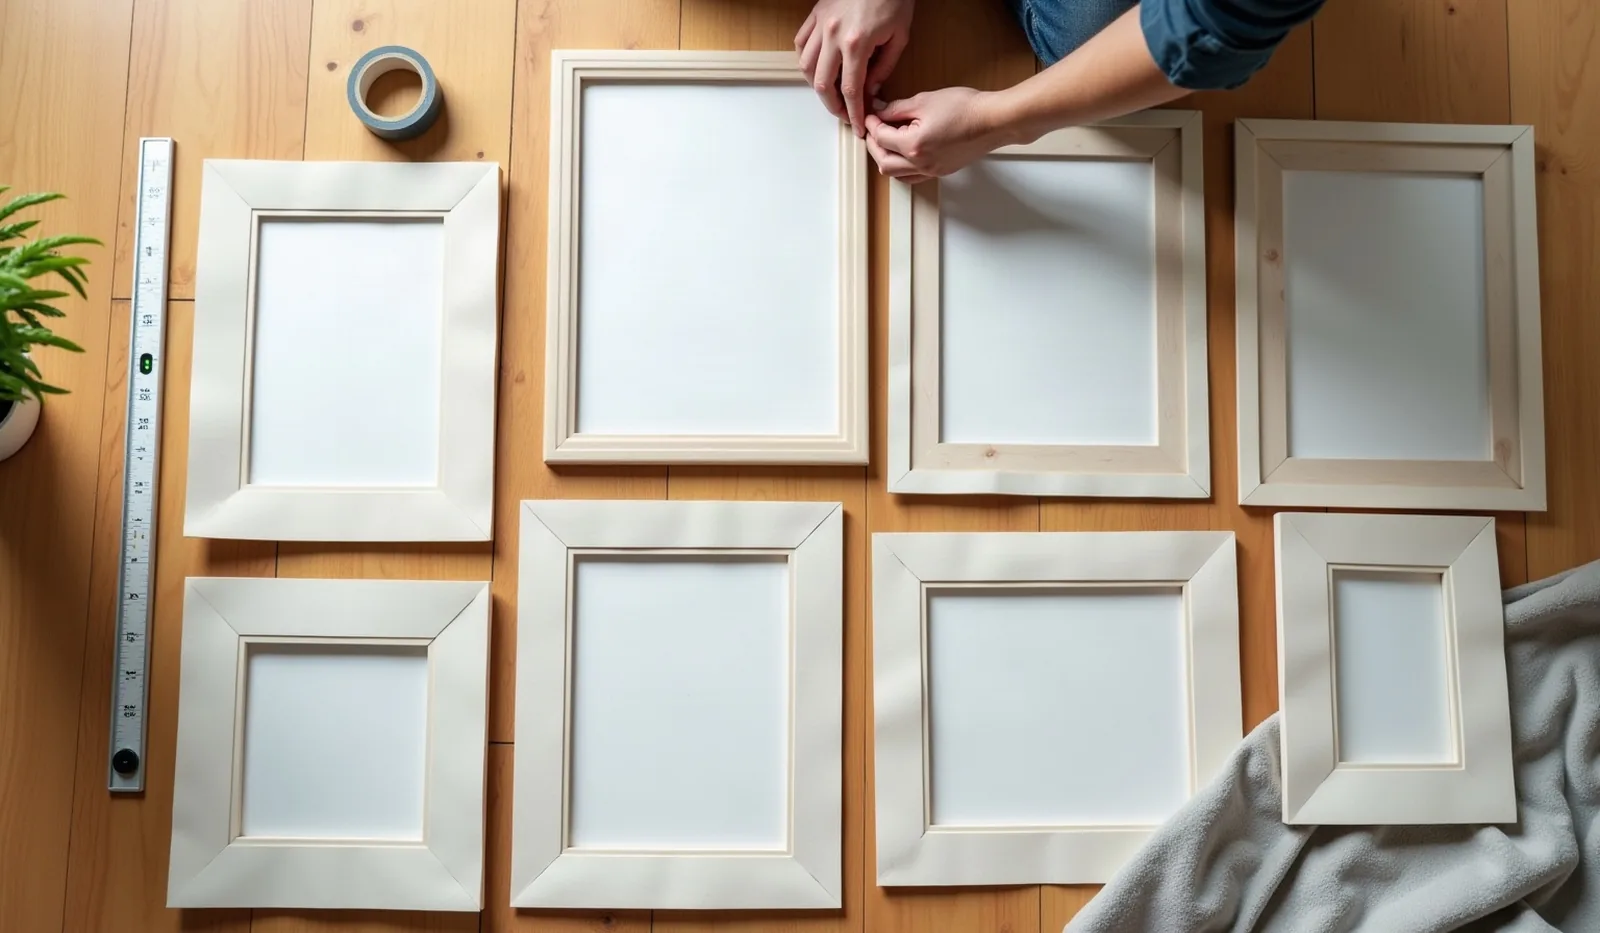
Cut a piece of kraft paper or newspaper to match the exact size of each frame, then tape the cutouts to the wall in the arrangement being considered. This single step catches almost every mistake before it becomes a hole pattern: a layout that looked balanced on the floor but crowds a light switch, a gap that reads awkward at eye level, an arrangement that only works from one angle of the room. Live with the paper version for a day or two and adjust freely, since moving tape costs nothing. Once the layout earns a second look without adjustment, mark the top-center point of each template directly on the wall — that mark is where each hanger goes.
Pick One Anchor Piece First
Choose the largest or boldest piece and build outward from it, rather than balancing several similar-sized frames against each other. An anchor piece gives the arrangement a visual center of gravity, and everything else — smaller frames, a mirror, a small shelf — reads as support around it instead of competing for the same attention. A workable mix is one large anchor, two or three medium pieces, and a scatter of small ones filling the gaps; a grid of identical frames can work too, but it needs near-perfect spacing to avoid looking like a template. Set the anchor first and let everything else grow outward from its edges.
The Spacing and Height Rules That Make It Read as One Piece
Keep two to three inches between every frame, measured edge to edge, and hold that number across the whole arrangement — inconsistent gaps are the fastest way to make a wall look accidental. Treat the arrangement as one large rectangle and center that rectangle around standard eye level, roughly fifty-seven to sixty inches from the floor to its middle, rather than centering each frame on its own. Over a piece of furniture, leave six to eight inches between its top and the nearest frame, so the grouping reads as intentional rather than stacked on top of it.
Budget-Friendly Ways to Fill the Frames
A gallery wall does not need to be expensive to look considered — it needs a consistent thread running through it. A few ways to fill frames without spending much:
- Thrifted frames, one spray-paint color. Mismatched secondhand frames unify instantly once every one gets the same finish.
- Printed photos, not phone screens. A print shop or a home printer turns a favorite photo into wall art for a few dollars a frame.
- A child's artwork, matted properly. A wide mat around a small drawing reads as intentional rather than a fridge magnet moved to a frame.
- A small mirror in the mix. One mirror bounces light around the grouping and breaks up a wall of flat images.
- Fabric or wrapping paper over cardboard. A patterned remnant stapled taut over cut cardboard fills a spot for almost nothing.
Hang It Without Wrecking the Wall
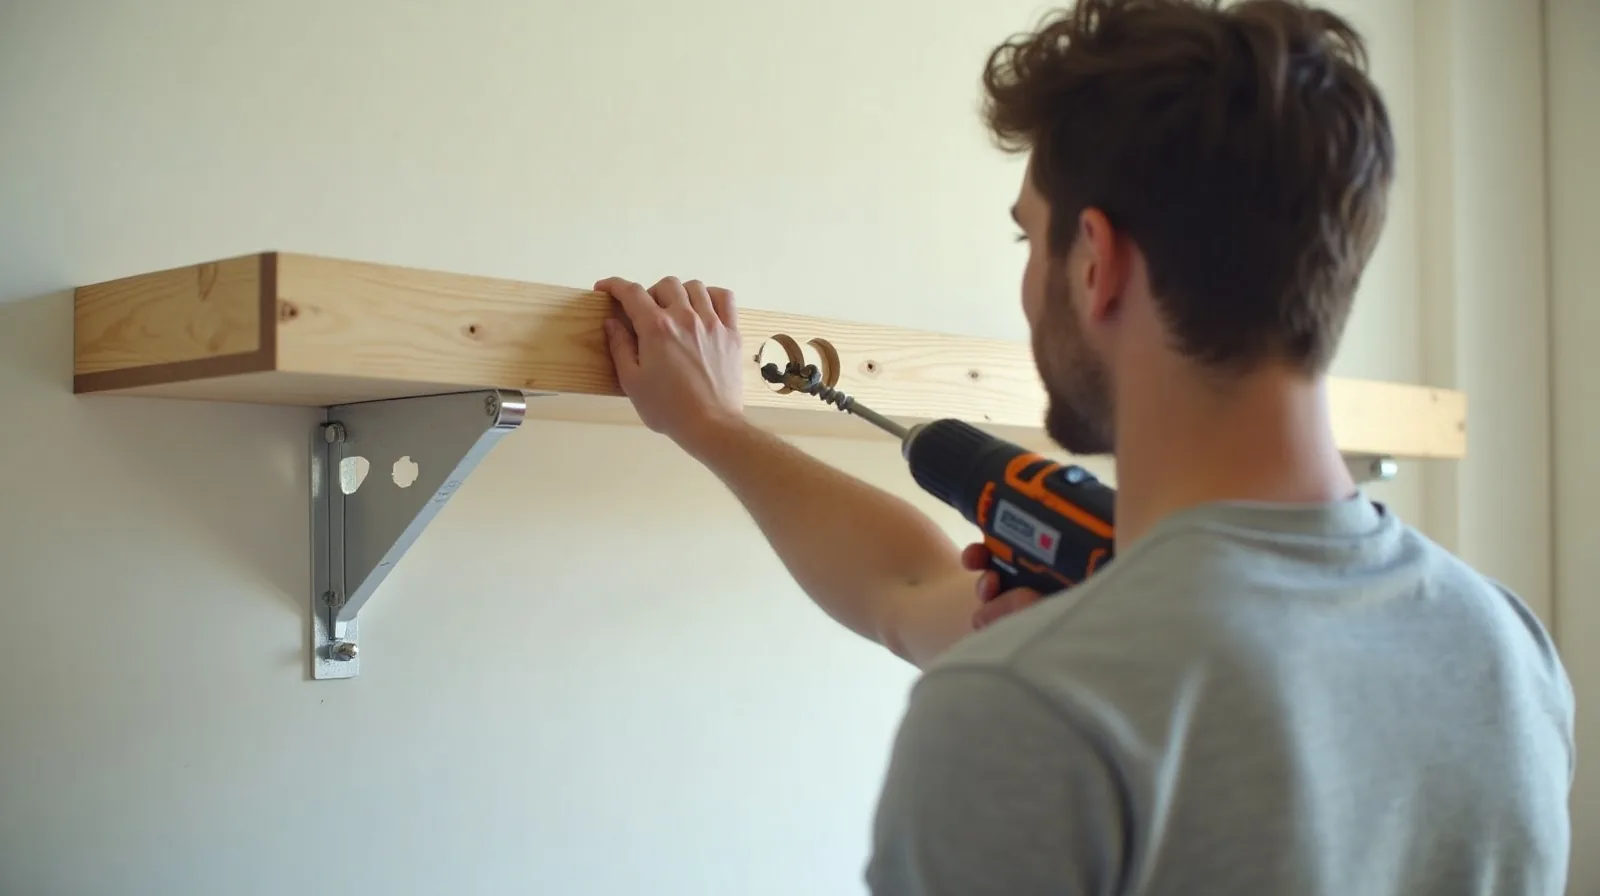
Match the hardware to the weight, not habit. A picture hook rated for the frame's actual weight holds most framed prints without any drilling. Anything heavier — a large mirror, a substantial framed piece — deserves a proper wall anchor or a hook driven into a stud, found with a stud finder or the tap-and-listen method. For very light pieces, a removable adhesive strip rated for a few pounds skips hardware entirely and comes off clean later, which matters most in a rental. Work outward from the anchor piece using the paper-template marks, checking each new frame against its neighbors with a level rather than eyeballing it.