
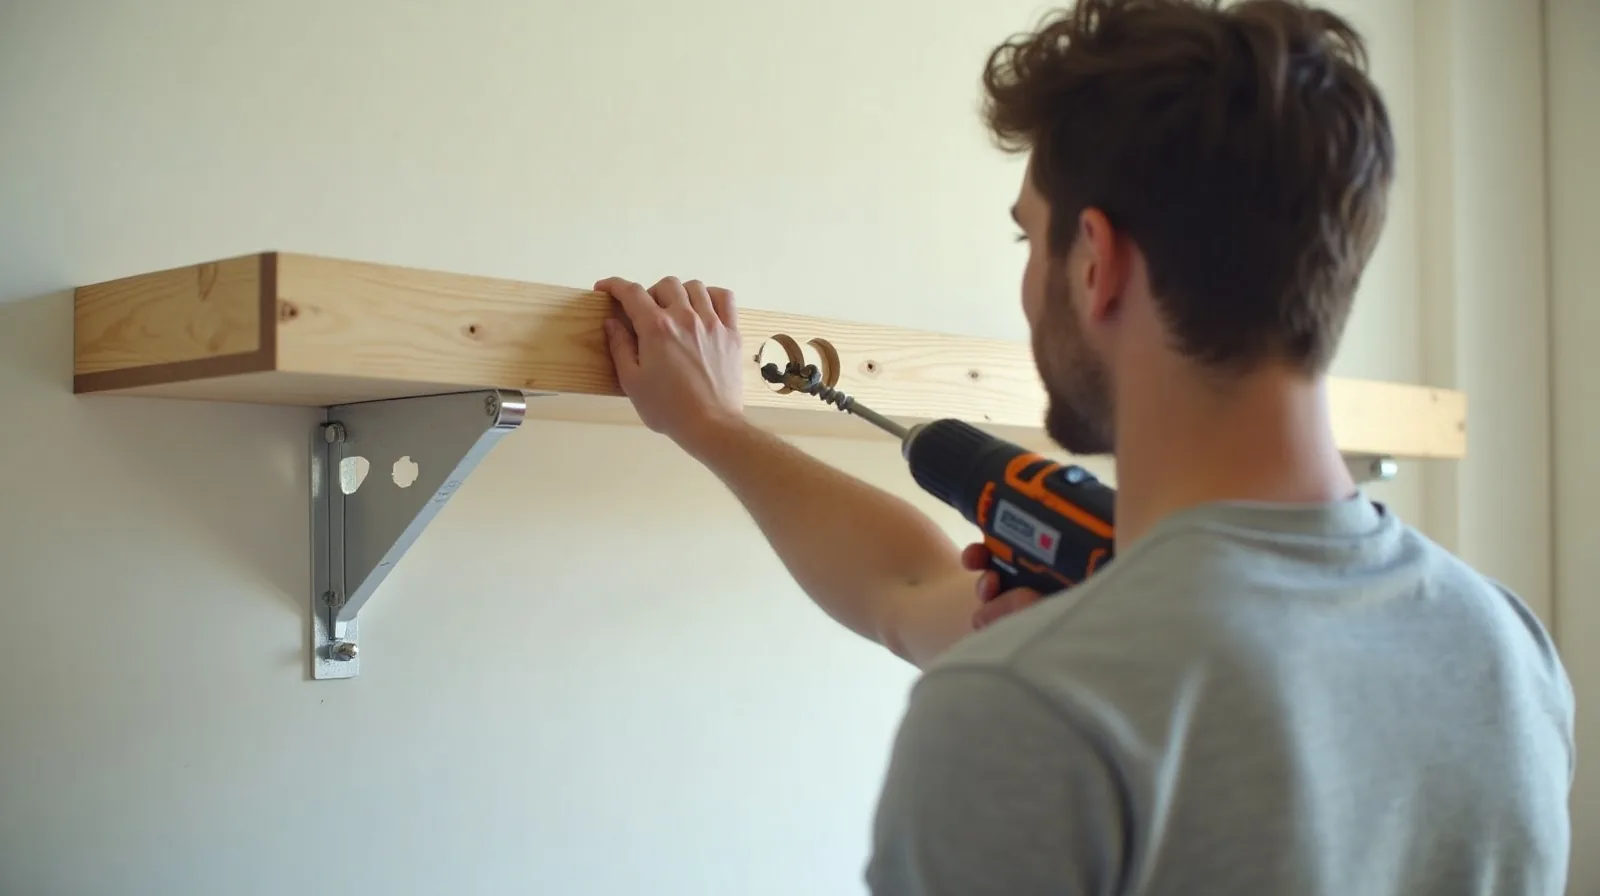
Every home seems to have one: the shelf that looked perfect for a week and now runs subtly downhill, or wobbles when a book comes off it. The tempting conclusion is that hanging shelves takes a steadier hand or better luck. It doesn’t. A shelf that stays level is decided before the drill ever touches the wall — by what you find behind the drywall, the hardware you match to the load, and one pencil line drawn the right way. Get those three right and the actual hanging is the easy part.
Find Out What’s Behind the Wall
Drywall alone holds almost nothing — a bare screw driven into it will pull loose under a few books, slowly enough that the shelf tilts long before it falls. The strength lives in the studs, the vertical framing boards usually spaced about sixteen inches apart behind the surface. A stud finder locates them fastest, but the old ways work too: knock along the wall and listen for the tone to go from hollow to dull and solid, or start near an outlet or switch, since their boxes are almost always fastened to the side of a stud. Mark every stud you find with a light pencil tick. And if your wall is plaster or brick instead of drywall, the plan changes — plaster wants gentle pilot holes, and masonry needs its own anchors and drill bit.
Match the Hardware to the Load
- Studs first, always. A screw sunk well into a stud outholds any drywall anchor. If even one bracket can land on a stud, slide the shelf so it does.
- Plastic expansion anchors. The little sleeves included in most shelf kits — fine for light, decorative loads and nothing more.
- Self-drilling anchors. The threaded cone type that screws straight into drywall — a solid middle class for medium loads.
- Toggle bolts. Wings that open behind the drywall and clamp against its back — the strongest drywall-only option, right for heavy shelves that can’t reach a stud.
- Respect the rating, then halve it. Package ratings assume perfect walls and perfectly still loads. Books are heavier than they look; leave a wide margin.
Draw One Level Line — Don’t Measure Twice
Here’s the mistake behind most crooked shelves: measuring up from the floor at both ends. Floors aren’t level, so two perfectly careful measurements transfer the floor’s tilt straight onto your wall. Instead, measure up at one point only, then hold a spirit level at that mark and extend a light pencil line across — after the first mark, the bubble decides everything, not the tape. A strip of painter’s tape along the line takes marks without scuffing the paint. Then hold the bracket or the shelf’s keyhole plate against the line and mark each screw hole through the hardware itself — eyeballed hole spacing is the other classic source of tilt.
Hang It, Check It, Then Load It
Drill pilot holes on your marks, set the anchors, and drive the screws snug — firm, but not so tight you crush the drywall behind the bracket, which weakens its grip. Before a single book goes up, rest the level on the shelf itself and check again; screw holes have a little play, and this is the moment a small nudge still fixes everything. Load with the heaviest items closest to the brackets, and give the screws a quick re-tighten every few months if the shelf sees daily use. If a shelf ever starts drifting out of level later, that’s an anchor beginning to give — take the weight off and upgrade the hardware while it’s still a ten-minute fix.