Somewhere near you right now — a thrift store, a yard sale, an online secondhand listing, maybe the curb on trash day — sits a solid wood dresser that was built to outlive its first owner, priced at less than a takeout dinner. Upcycling is the art of seeing through the scuffs: older furniture is often better made than anything comparable you could buy new, and a weekend of honest work can turn a tired piece into the favorite thing in the room. The skill isn’t really the painting. It’s picking the right piece and prepping it properly.
Finding a Piece Worth the Work
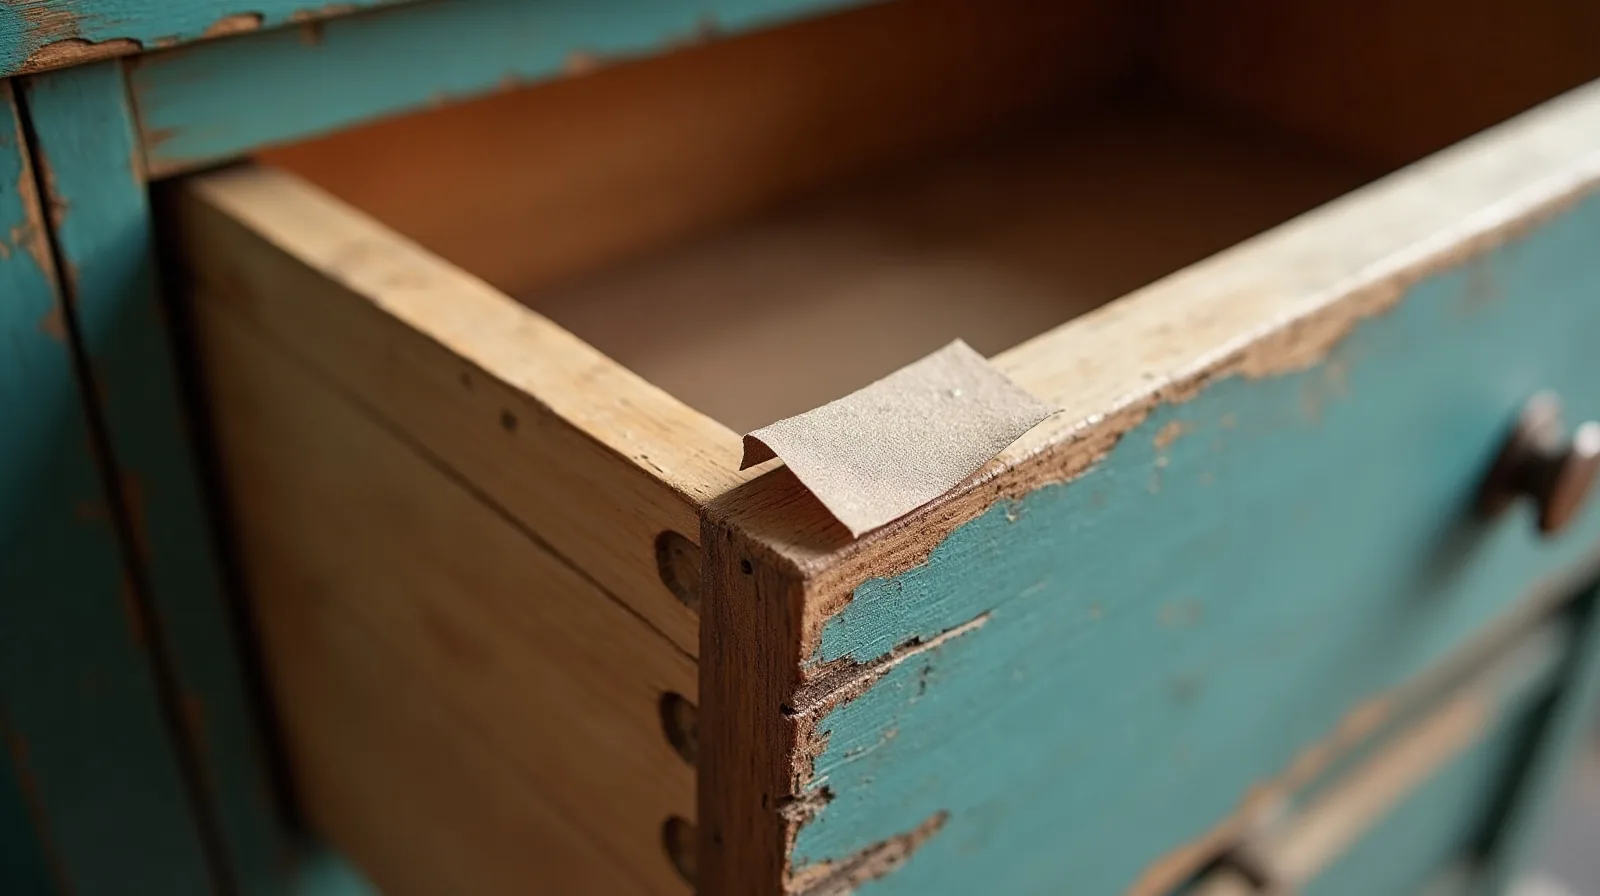
Train your eye to judge bones, not surfaces. Solid wood is the prize: it’s heavy, shows real grain on edges and drawer sides, and forgives sanding — and interlocking joinery at drawer corners is a classic sign of quality. Scratches, water rings, dings, dated finishes, and missing hardware are all cosmetic; that’s exactly the damage upcycling fixes. What should send you walking: particleboard swollen from water (it never recovers), frames cracked through the joints, a musty smell that a week of airing out won’t shift, and the small telltale holes of wood-boring pests. A wobble, on the other hand, is usually just a loose joint asking for glue and clamps — a repair, not a reason to pass.
Match the Project to the Piece
Different furniture wants different treatment, so let the piece pick the project. A dresser is the classic first upcycle — clean, paint, new knobs, done. A dining table splits in two: paint the legs if you like, but the top takes real abuse and wants to be sanded back and sealed with a durable clear finish rather than painted. Chairs with drop-in seats are sneaky-easy — unscrew the seat, wrap it in new fabric with a staple gun, paint the frame, and the whole chair reads as reupholstered with zero sewing. Some pieces deserve a new job entirely: a dresser minus its drawers becomes open shelving; a headboard becomes the back of an entry bench. For a first project, pick something you can genuinely finish in a weekend — momentum matters more than ambition.
The Prep That Makes Paint Stay Put
Nearly every peeling, chipping upcycle skipped the same boring steps:
- Clean like you mean it. Decades of invisible grime and old polish will shrug off paint — wash with warm soapy water or a degreasing cleaner and let it dry fully.
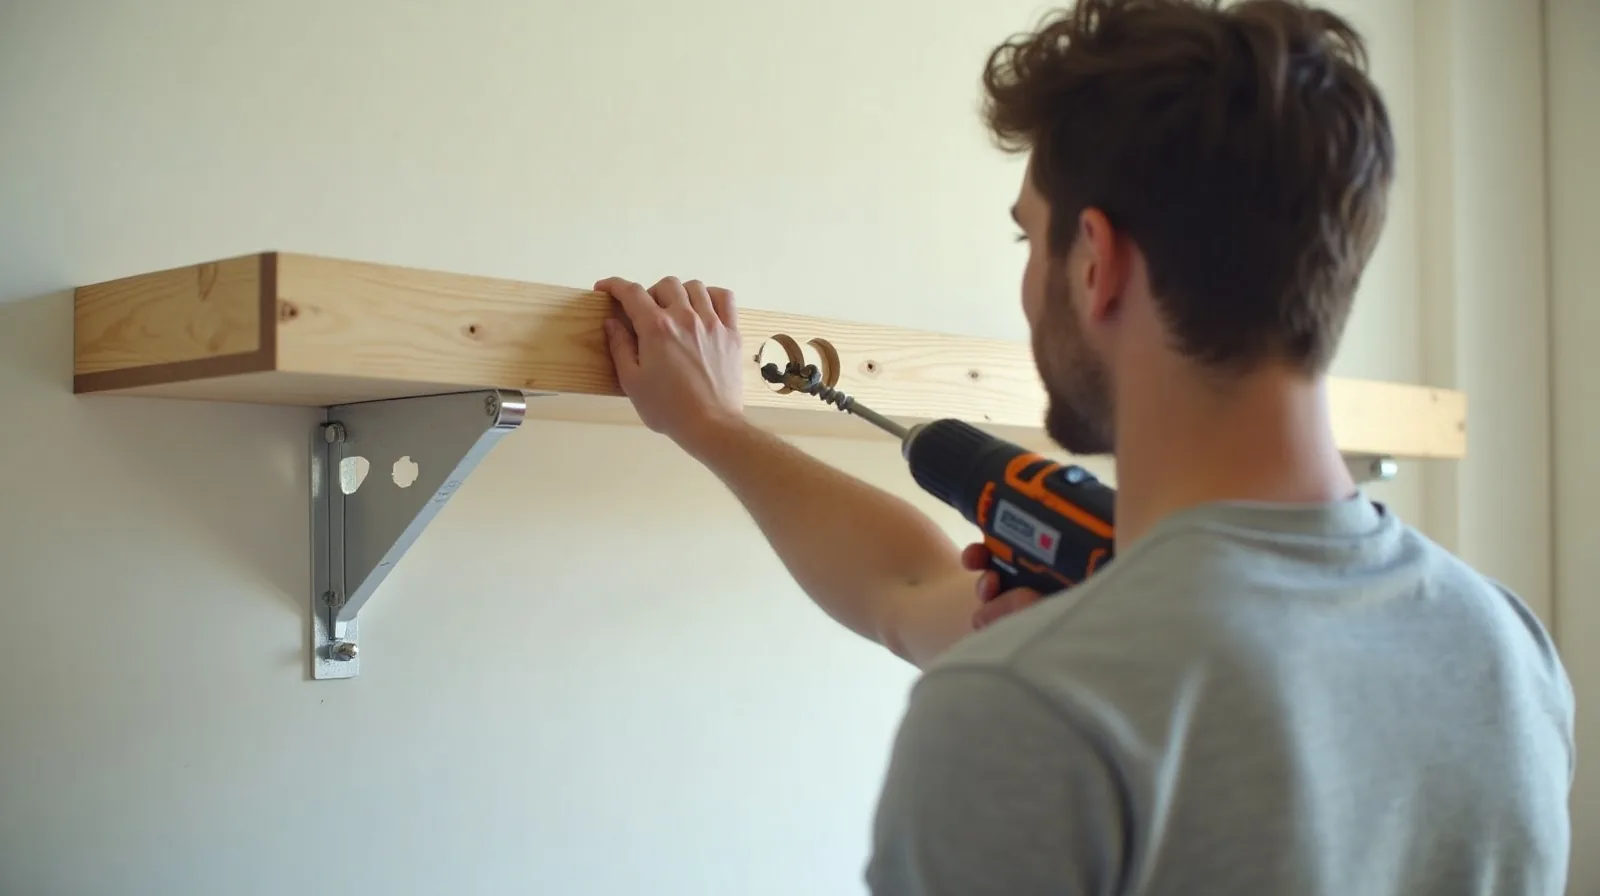
- Repair before pretty. Re-glue loose joints, fill chips and old hardware holes with wood filler, tighten everything. Paint hides color, not wobble.
- Scuff-sand for grip. You’re not stripping to bare wood — just dulling the old finish so the new one has something to bite.
- Prime, especially going light. A stain-blocking primer stops old wood tannins and mystery marks from bleeding through pale paint weeks later.
- Thin coats, real patience. Two or three thin coats beat one thick one, and paint needs days to fully harden — style the top next week, not tonight.
- Finish with new hardware. Fresh knobs and pulls are the biggest transformation per dollar in the whole project.
One Safety Check Before You Sand
Old paint deserves respect: furniture painted before the late 1970s can carry lead-based paint, and sanding it releases dust you do not want in your lungs or your house — especially around kids. Inexpensive lead-check swabs from any hardware store settle the question in minutes; if a piece tests positive, don’t sand it — either seal it under a modern primer and paint, or let that one go. Beyond lead, keep the habits that make every project safer: sand outdoors in a mask, ventilate well whenever strippers or oil-based finishes are involved, and follow the instructions on every can. For anything past your comfort zone — structural repairs, or refinishing something genuinely valuable — a qualified pro is the better call.