A scratch on a tabletop is one of those small household problems that feels bigger than it is. The instinct is either to live with it or to start pricing out a full refinish, and both are usually wrong. Most damage on wood furniture is shallower than it looks, and the right repair depends far less on the species of wood than on two questions: how deep the damage goes, and what kind of finish sits on top of it. Answer those and the fix is often a ten-minute job.
Read the Damage Before Buying Anything
Drag a fingernail across the mark. If it glides over without catching, the scratch lives in the finish only — the clear layer above the wood — and color may not be needed at all. If the nail catches slightly, the scratch has cut into the wood and needs color. If it drops into a groove you can clearly feel, that is a gouge, and it needs filling before anything else happens.
Then check whether color has actually been lost. Wipe the scratch with a barely damp cloth: if the mark vanishes while wet and returns as it dries, the wood underneath is intact and the scratch is only scattering light. Paste wax or a polish alone handles that.
Surface Scratches: Color and Buff
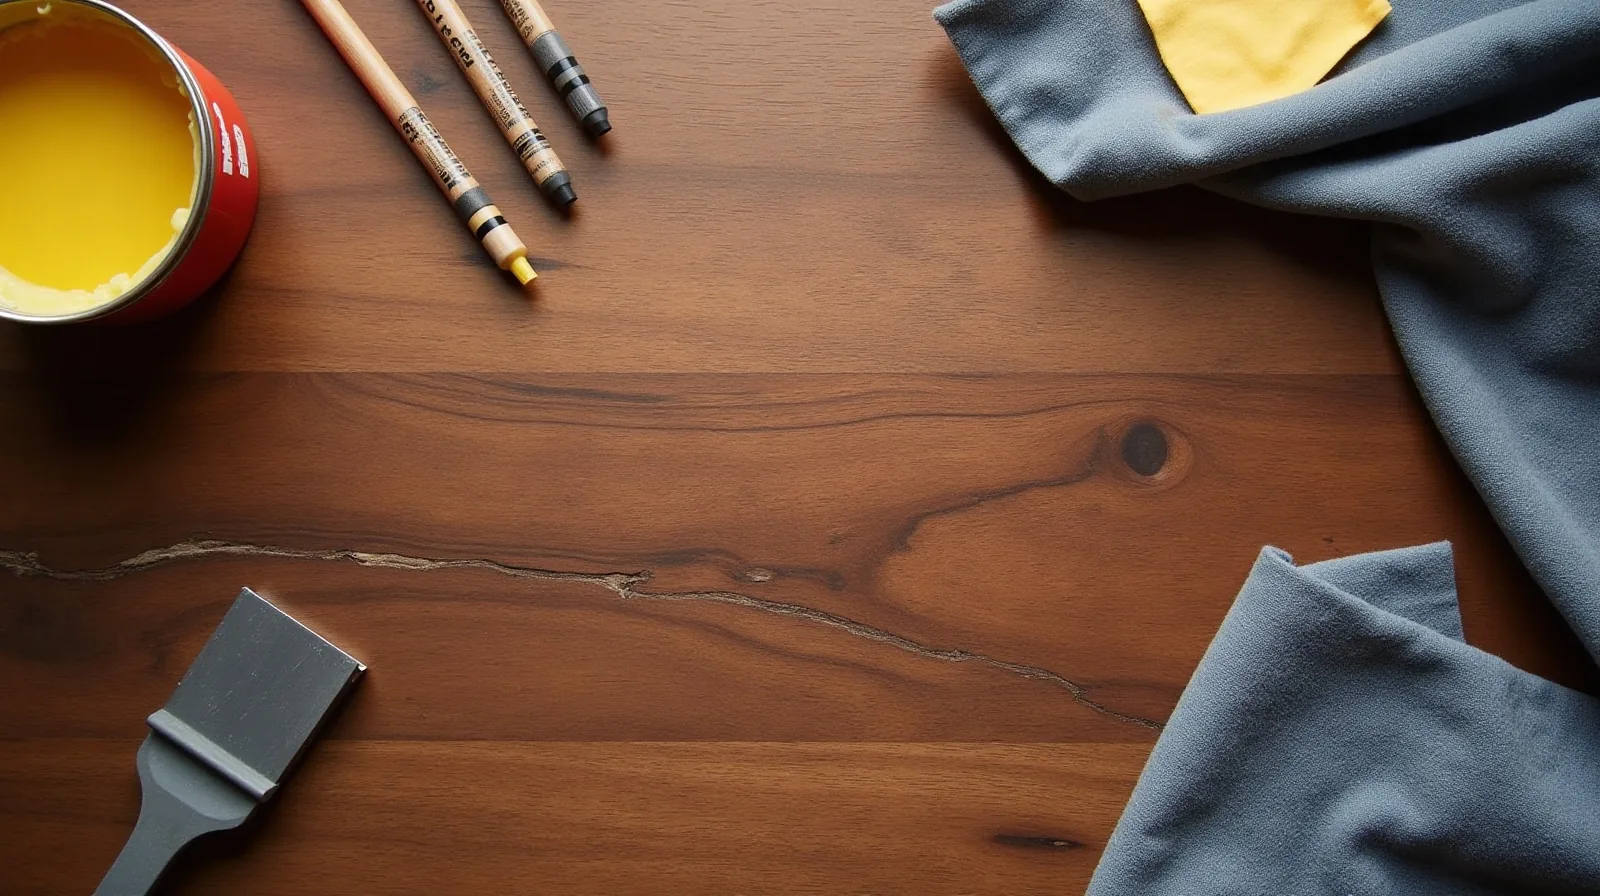
For a finish-level scratch that shows pale, a repair marker is the fastest tool: an alcohol- or oil-based pen in a wood tone. A wax fill stick, rubbed in and buffed, does similar work with more body. The whole skill is restraint: apply a little, wipe across the scratch with a soft cloth almost immediately, and look before adding more.
Choose a shade lighter than the surrounding wood, always. Wood color reads as a blend from a normal viewing distance: a repair slightly too light disappears, while one that is too dark becomes a permanent line.
Gouges: Fill, Level, Then Color
Anything with real depth needs material added. Soft wax filler sticks handle low-traffic areas and can be pressed in with a thumb, then scraped flush with the edge of an old plastic card. Surfaces that get used hard, like a dining table or a desk edge, do better with a two-part filler that cures solid and takes a finish.
Overfill slightly, since most fillers shrink as they set, then level with the plastic card rather than sandpaper so the surrounding finish stays untouched. Once it is flush and dry, draw two or three fine grain lines across the patch with a marker a shade darker than the fill. Grain lines are what convince the eye; a perfectly color-matched blank spot still reads as a repair.
- Test somewhere hidden. The underside of a tabletop or the back of a leg shows how a color behaves before it lands somewhere permanent.
- Go lighter than you think. Too light blends away; too dark stays visible forever.
- Work with the grain. Every wipe, buff, and drawn line should follow the direction the wood runs.
- Build thin layers. Two light passes beat one heavy one.
- Match the sheen last. Color first, gloss level afterward, never both at once.
- Ventilate and read the label. Solvent-based products need open windows, and oily rags should dry flat outdoors before going in the trash.
Blending the Sheen
Repairs often fail on shine rather than color. A patch that matches perfectly in tone still stands out if it is glossy against satin. Wipe-on finishes come in flat, satin, and gloss; a small amount feathered over the repair with a soft cloth usually settles it. If a fresh spot dries too shiny, a gray synthetic abrasive pad and a little wax knock it back into line.
When Refinishing the Whole Piece Wins
Spot repair stops making sense when the damage is everywhere rather than somewhere: a hazed finish across a whole surface, water damage gone gray under the coating, or a table that has collected two dozen marks over a decade. At that point sanding back and applying a fresh finish takes a weekend and gives one uniform surface, while chasing each mark leaves a constellation of patches that never quite disappear.