A knife that used to glide through a tomato and now just squashes it has not been ruined. It has gone dull, and dull is fixable at home with a couple of inexpensive tools and a little repetition. Sharpening and honing get lumped together constantly, but they solve two different problems, and knowing which one a knife needs first saves both time and metal.
Honing and Sharpening Are Not the Same Job
A honing steel does not remove any metal from the blade. It straightens the thin edge of steel that rolls or bends sideways from ordinary cutting board use, which is most of what makes a knife feel dull between uses. Running the blade along a steel at a shallow angle, a few passes per side, snaps that edge back into line in seconds. Sharpening is a different job entirely: it grinds away a small amount of metal on a whetstone to cut a new, thinner edge once honing stops bringing a blade back. A knife that still feels dull immediately after a good honing, or one with a visible nick along the edge, needs the stone rather than the steel.
What to Keep Within Reach
A handful of inexpensive items cover nearly every kitchen knife in the house:
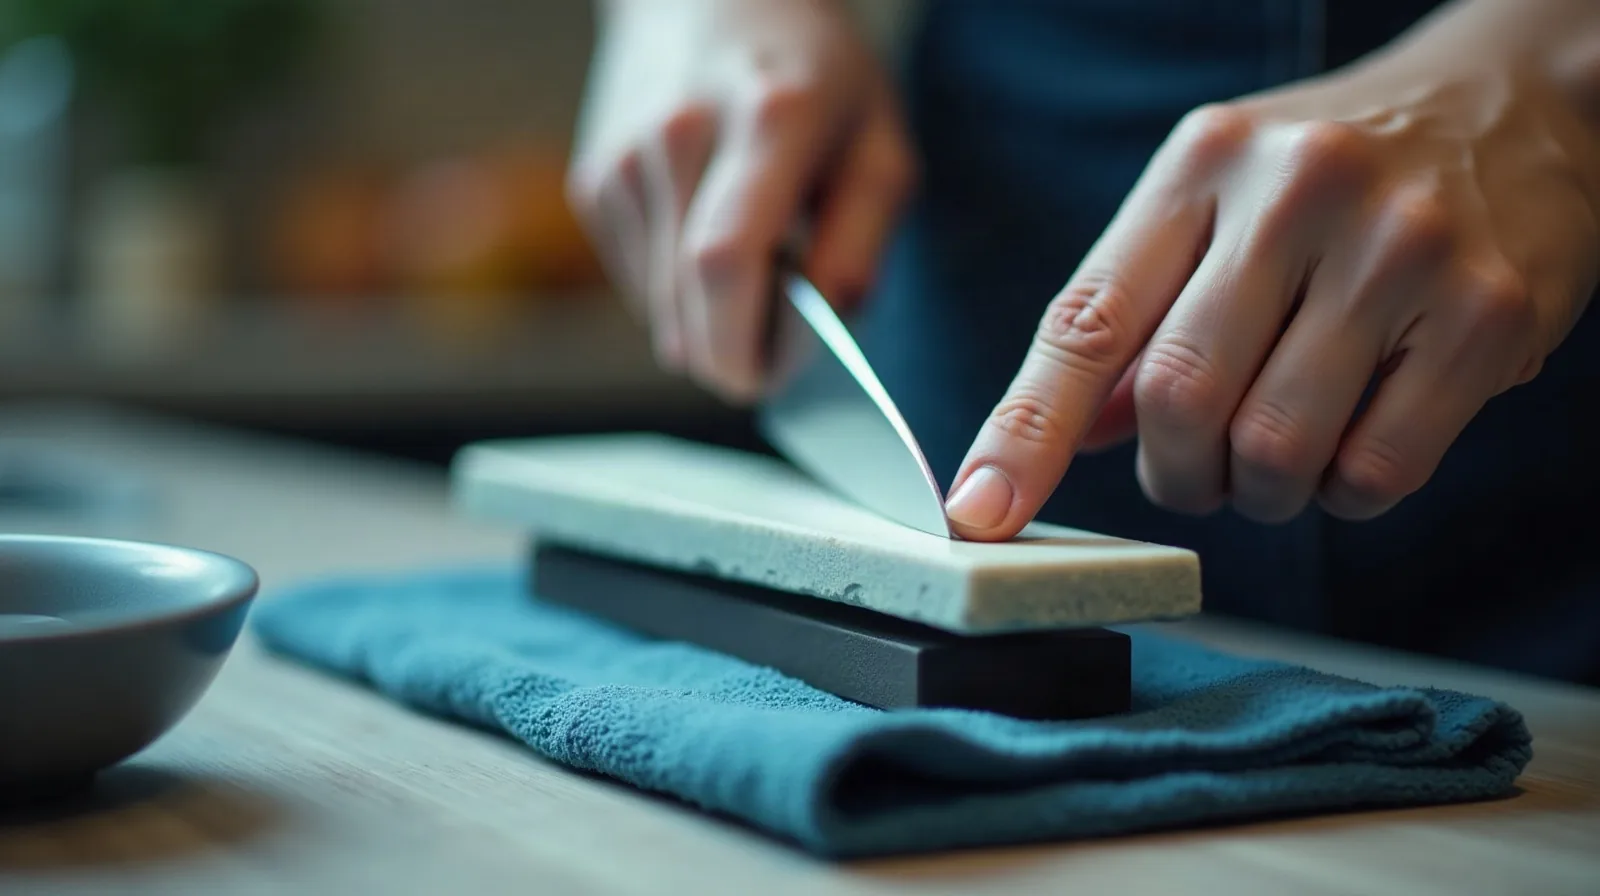
- A two-sided whetstone. A coarse grit, around 1000, removes metal fast to reset a truly dull edge, and a fine grit of 4000 or higher on the flip side polishes that edge smooth.
- A damp towel or stone holder. A stone that slides mid-stroke is how knuckles end up in the way. Fold a wet towel underneath it, or use a holder with rubber feet.
- A shallow dish of water. Water stones need a quick soak before use and a splash between passes to keep cutting instead of clogging with metal dust.
- A honing steel. For the weekly touch-ups that keep a freshly sharpened edge from needing the stone again so soon.
- A sheet of plain paper. The easiest way to test whether an edge is actually sharp, covered below.
Setting the Angle and Making the Stroke
Soak a water stone until bubbles stop rising, usually ten to fifteen minutes. Most kitchen knives want an angle close to fifteen to twenty degrees between blade and stone — steeper removes more metal than kitchen knives actually need. A simple way to hold that angle without guessing is to rest the spine on a small stack of two or three coins while the edge sits flat on the stone; that gap is roughly the right tilt. Sweep the blade across the stone edge-first, heel to tip, with light, even pressure and matching strokes on each side — ten to fifteen per side on the coarse grit, then a lighter five or so per side on the fine grit to polish. Alternate sides after each pass rather than finishing one side first, which keeps the edge centered instead of drifting toward one face of the blade.
Testing the Edge and Keeping It Sharp
A sharp edge should slice cleanly through a sheet of plain paper held only at the top, with no tearing or snagging partway down; a dull edge crumples or catches. Once a knife passes that test, a few strokes on the honing steel before most uses keeps it there far longer than sharpening alone could, since honing takes seconds and asks nothing of the stone. Between sharpenings, store knives edge-protected — in a block, on a magnetic strip, or in individual sheaths — rather than loose in a drawer, where the edge dulls against other metal and a reaching hand risks a cut. Dry the whetstone fully before storing it, since a stone left damp in a closed case is prone to cracking, and a well-cared-for stone will outlast the knives it sharpens.