There are two kinds of wall repairs: the ones you stop noticing, and the ones that catch your eye every single time the afternoon light rakes across them. The difference is almost never skill with a putty knife — it’s sequence. Most visible patches fail because a step got skipped: the filler went on in one thick glob, the sanding stopped too soon, or paint went straight over bare spackle. Run the full patch-to-paint sequence, rushing nothing, and a dent or doorknob hole genuinely vanishes. Here’s the whole thing, in order.
Size Up the Damage First
Match the fix to the hole. Nail holes and small dings need nothing but lightweight spackle and a putty knife. Dents and gouges up to an inch or two are still a filler job, just in more coats. Holes bigger than that need backing — a self-adhesive mesh patch for fist-size damage, or a scrap of drywall cut in for anything larger — because filler alone will sag and crack across a void. And know the walk-away signs: cracks that keep returning, soft or stained drywall that suggests a leak, or damage near wiring are diagnosis problems, not cosmetic ones, and worth a professional’s eyes before any filler goes on.
Patch in Thin Coats — Then Sand Like You Mean It
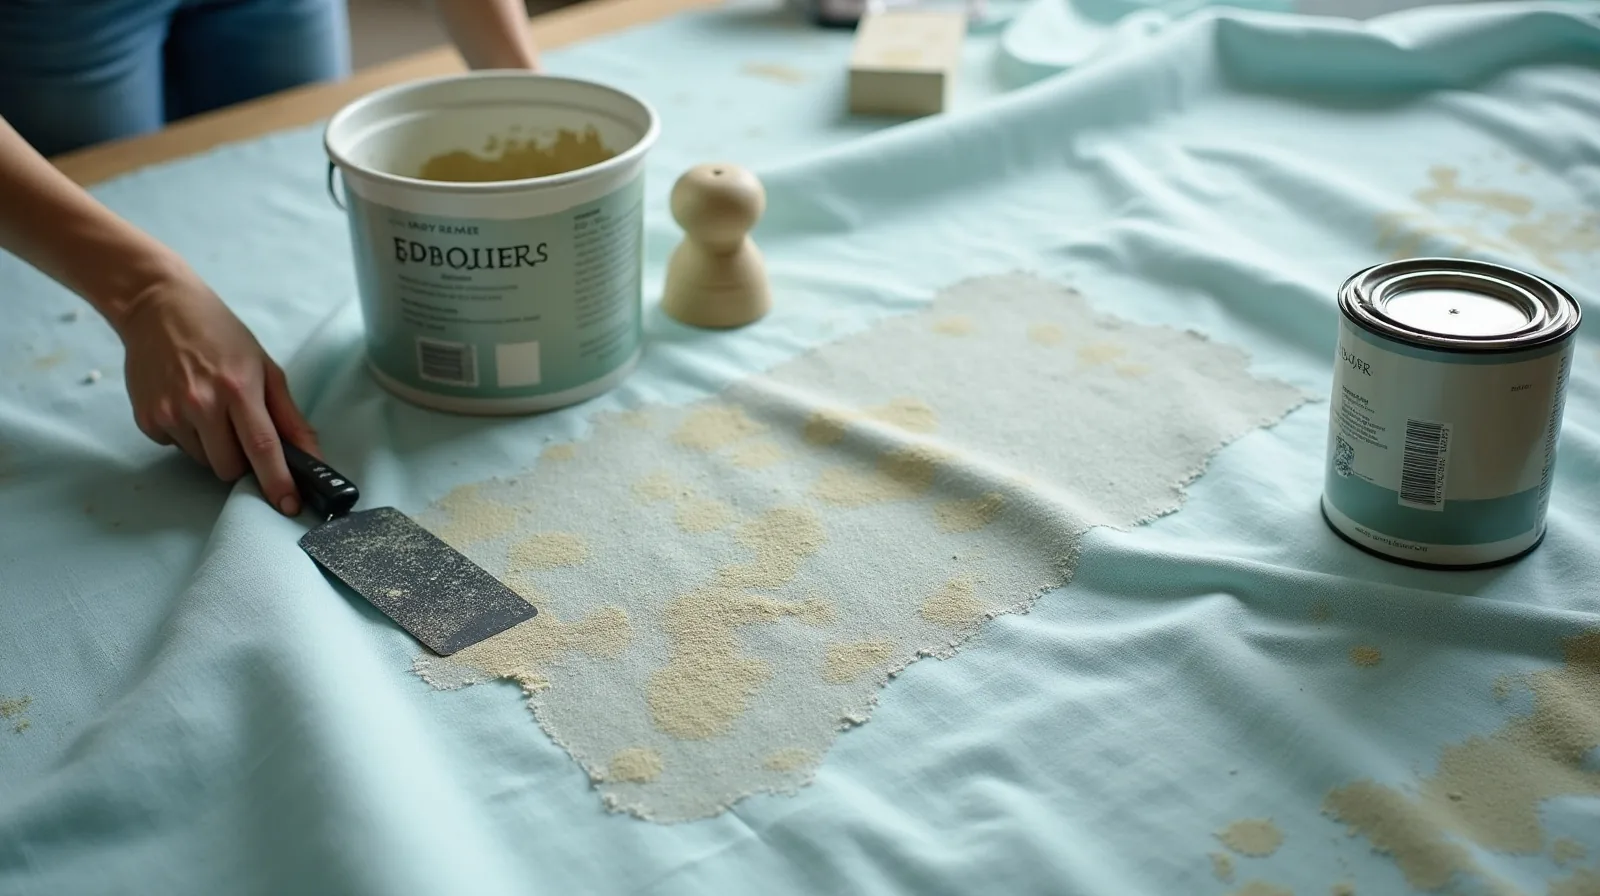
Brush out loose debris, press any raised edges flat, and apply spackle with a knife slightly wider than the hole, pulling across in an X pattern so the filler packs in rather than bridging the top. The rule that separates invisible repairs from lumpy ones: two or three thin coats beat one thick one, every time. Thick filler shrinks, cracks, and takes forever to dry; thin coats dry fast and stack flat. Leave the final coat a hair proud of the wall, let it dry completely, then sand with fine-grit paper on a sanding block — fingertips follow the dip they’re trying to remove, while a flat block bridges it and shaves only the high spots. Feather outward until your palm can’t find the edge with your eyes closed.
The Steps Most People Skip
Each of these takes a minute, and each one is usually the reason a patch shows:
- Wipe off the sanding dust. A barely damp cloth over the patch and surrounding wall — paint over dust and it peels or textures.
- Prime the patch. Bare spackle drinks paint differently than the painted wall around it, leaving a dull ghost called flashing. A quick coat of primer over the repair ends it.
- Match the sheen. Touch-up paint in the wrong finish reads instantly, even in the right color. Check whether the wall is flat, eggshell, or satin before you dip a brush.
- Match the texture. Rolled walls have a faint orange-peel stipple a brush can’t mimic — use a small roller for the topcoat, even on a small patch.
- Check with raking light. Hold a work light or phone flashlight almost parallel to the wall before painting. It exposes every ridge sanding missed, while fixing them is still easy.
Blend the Paint Past the Patch
The final trick is feathering. Instead of painting a crisp square exactly over the repair, roll the color slightly beyond the patch and lift pressure as you move outward, so the new paint thins into the old with no hard border for light to catch. If the leftover can has been in the garage for years, test a hidden spot first — walls fade while cans don’t, and a perfect patch in last decade’s shade still shows. When the color has drifted too far, the clean solution is repainting that wall corner to corner; edges hide in corners, never mid-wall. Label the can with the room and sheen afterward, and the next repair gets easier still.