Pickling sounds like a project that calls for a canner, a rack of jars, and an afternoon set aside for it. Quick pickling asks for almost none of that. Vinegar, water, salt, and a few minutes at a boil turn cut vegetables into something crisp and tangy within a day, and the finished jar lives in the refrigerator instead of a pantry shelf. There is no processing time to get right and no shelf-stability question to work through — just a brine, a clean jar, and cold storage.
The One Brine Ratio Worth Memorizing
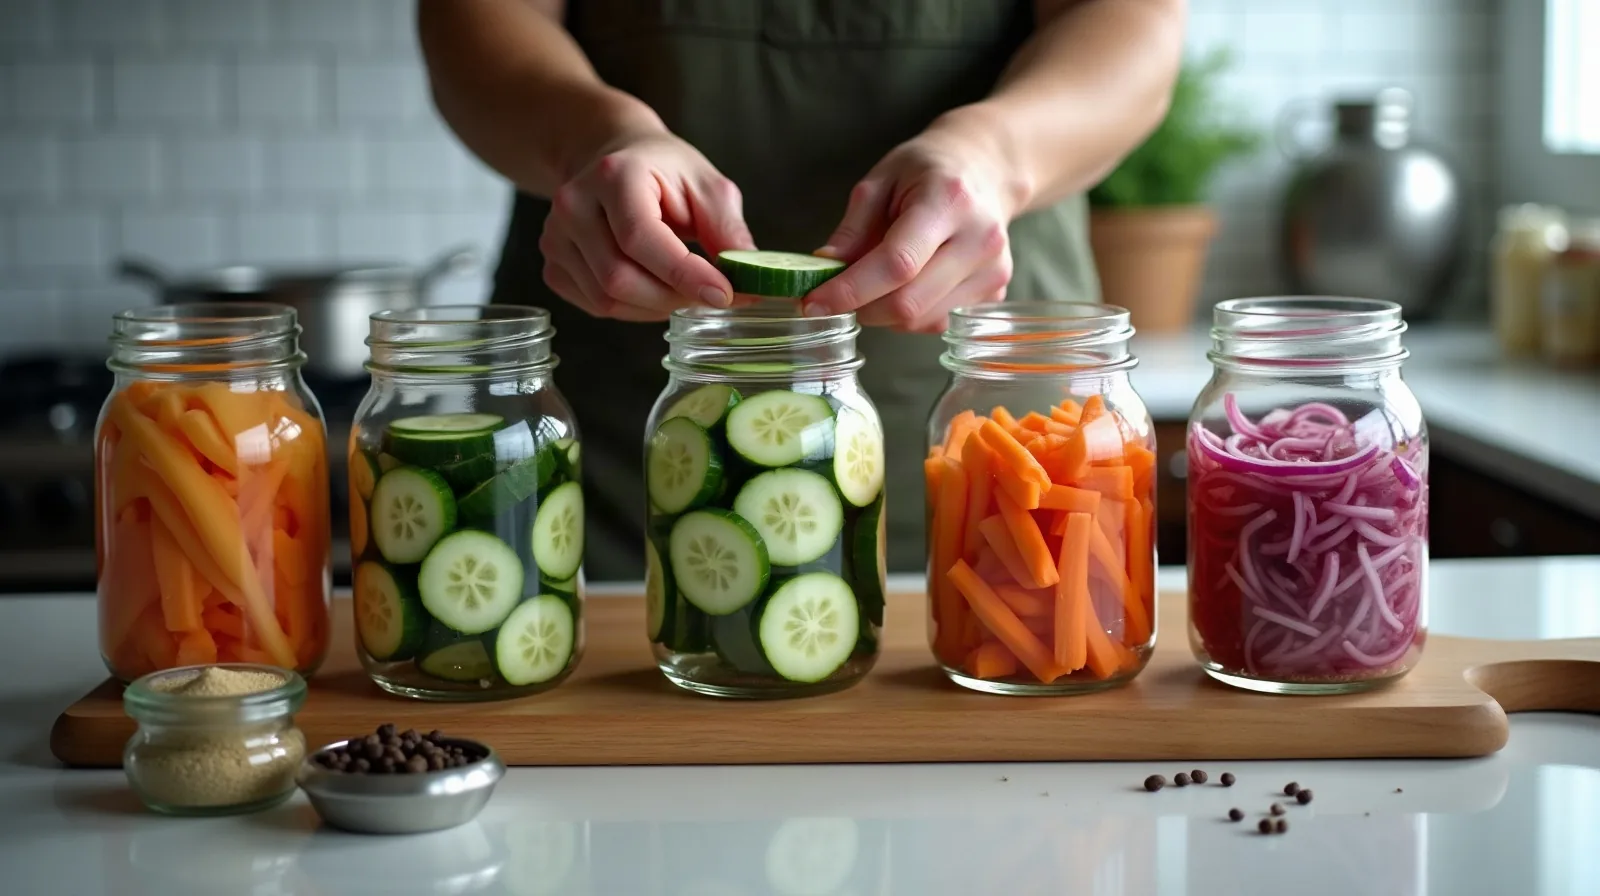
Almost every quick-pickle recipe reduces to the same formula: equal parts vinegar and water, plus roughly one tablespoon of salt and one to two tablespoons of sugar per cup of liquid. Distilled white vinegar gives the cleanest, most neutral flavor, while cider vinegar or rice vinegar shift the taste warmer or milder. Bring the brine to a boil just long enough to dissolve the salt and sugar, then pour it hot over vegetables already packed into a jar. That single ratio covers cucumbers, onions, carrots, and nearly anything else worth pickling, which makes it worth remembering rather than looking up every time.
Vegetables That Take to Pickling Well
Firm, crisp vegetables hold their texture best once the brine goes to work on them, while soft or watery ones tend to turn limp. A short list covers most of what is already sitting in a produce drawer.
- Cucumbers — sliced into spears or coins, the classic starting point for a reason.
- Red onion — thin half-moons turn a pale pink and mellow out within hours.
- Carrots — cut into sticks or coins, they keep a satisfying snap for weeks.
- Green beans — trimmed to fit the jar, they stay crunchy far longer than blanched beans.
- Cauliflower florets — broken small enough to pack tightly, with real bite left in the stem.
Jar Prep and the Pack-Then-Pour Method
Start with a clean, dry glass jar — a quick trip through the dishwasher's hot cycle is enough, since the brine itself does the work rather than a pressure-sealed canner. Pack the cut vegetables in tightly, leaving about half an inch of space below the rim, then tuck in any whole spices before the liquid goes in. Pour the hot brine over the vegetables until they are fully submerged, tapping the jar gently to release trapped air bubbles. Let it cool to room temperature on the counter, then seal and move it to the refrigerator. Most quick pickles taste best after a full day, once the flavor has had time to travel through the vegetable, and they generally keep for two to four weeks in the fridge. Because they never leave refrigeration, quick pickles are a different project from shelf-stable canning, which relies on a boiling-water bath and specific acidity levels to be safe outside the fridge — treat the two as separate skills rather than substitutes for each other.
Building Flavor Once the Basics Click
The base ratio is a starting point, not a ceiling. A smashed garlic clove or two turns almost any brine savory, mustard seed and black peppercorns add a gentle warmth, and a bay leaf or a sprig of dill leans the jar toward a classic deli flavor. A pinch of chili flakes or a sliced fresh chili brings heat that builds the longer the jar sits. Because the method is so forgiving, it rewards small experiments — a second jar with a different spice mix costs almost nothing beyond another vegetable and a few extra minutes at the stove, and it is the easiest way to find a favorite combination.