Watch a professional painter for ten minutes and the surprise isn’t speed or some impossible steadiness of hand — it’s how little of the time involves actual painting. The finish that looks effortless comes from sequence: what happens before the lid comes off, the order the wall gets covered, and a handful of small habits pros treat as non-negotiable. Every one of them is learnable in an afternoon, and together they’re the difference between a room that looks freshened up and a room that looks like someone who does this for a living just left.
The Finish Is Decided Before the Lid Comes Off
Paint magnifies whatever is under it — it hides nothing. So the unglamorous first hour is the one that matters most: wash the walls (kitchen film and hallway scuffs repel paint), fill every nail hole and dent, sand the patches flat, and run a bare hand over the surface to find what your eyes miss. Spot-prime the repairs so they don’t show through later as dull ghost patches, unscrew the outlet covers and switch plates instead of taping around them, and wipe the trim so tape can actually grip. Pros routinely spend more time on this stage than on painting, which tells you everything about where a finish really comes from.
Tools Are the Cheapest Upgrade
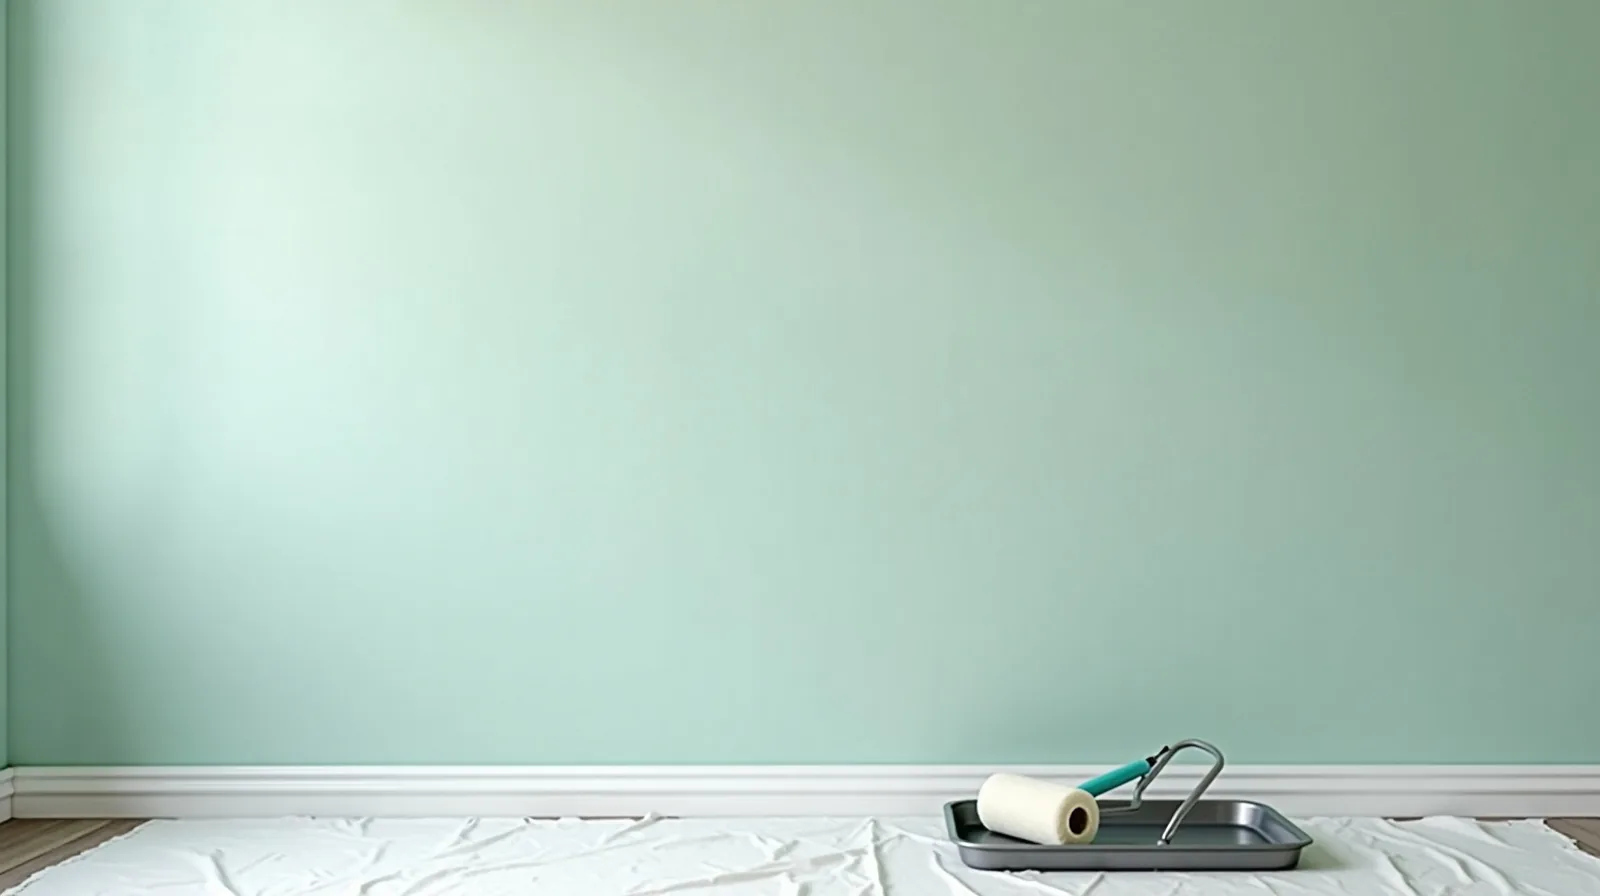
A bargain brush sheds bristles into the wall and drags rope-like streaks no technique can fix. Spend a little more on one good angled sash brush — around two to two-and-a-half inches — and a roller cover with the right nap: short for smooth walls, longer for texture. Load the roller until it’s evenly saturated but not dripping; a half-dry roller is what produces that patchy, orange-peel look. A sturdy tray or bucket grid beats scraping the roller across a can rim, and a damp rag in your back pocket turns every drip into a five-second fix instead of a permanent one.
The Habits That Make It Look Professional
These are the moves that separate the two kinds of paint job:
- Box your paint. Pour every can into one big bucket and stir. Color varies slightly from can to can, and a mid-wall color shift is forever.
- Cut in one wall at a time. Edge the ceiling line and corners with the angled brush, then roll that wall while the cut-in is still wet so edges and field blend instead of leaving a picture-frame halo.
- Keep a wet edge. Always roll back into paint that hasn’t dried. Lap marks come from painting over half-dried sections.
- Roll in a W. Lay paint on in a loose W shape, fill the gaps without lifting the roller, then finish with one light top-to-bottom pass.
- Stop touching it. Paint that has started to set only gets worse with more strokes. Let the second coat fix small flaws, not fussing.
- Score the tape. Once the paint is dry to the touch, run a utility blade lightly along the tape edge before pulling it back at a low angle — that is where razor-crisp lines come from.
Two Thin Coats, Always
The urge to make one heavy coat do the whole job produces drips, sags, and coverage that looks fine at noon and blotchy at sunset. Two thin coats dry faster, level themselves better, and cover evenly — and the second goes quickly because every cut-in line is already established. Between coats, check the work the way pros do: hold a work light at a sharp angle so it rakes across the surface, making every drip, thin spot, and missed patch jump out while it can still be fixed. Then pull the tape, step back, and enjoy the very specific satisfaction of a ceiling line that looks drawn with a ruler.