There’s a persistent myth that dessert requires an oven, a mixer, and the better part of an evening. Meanwhile, some of the most reliable crowd-pleasers around — icebox cakes, cheesecake cups, chocolate bark — ask for about ten minutes of actual work and a few hours of doing absolutely nothing while the fridge handles the rest. No-bake desserts aren’t a compromise; they’re a different division of labor. You do the fun part — crushing, stirring, layering — and cold does the chemistry. Here’s the logic behind them, one formula worth memorizing, and five desserts to start with.
Why No-Bake Works
Baking transforms ingredients with heat; no-bake desserts start with ingredients that are already transformed. Cookies are already baked, cream already whips, chocolate already melts and resets — your job is just assembly. That has two happy consequences. First, almost nothing can go seriously wrong: there’s no oven timing to miss, no rise to ruin, no “is it done?” anxiety. Second, the honest label on these recipes reads ten minutes of hands, three hours of fridge — which means they slot neatly into real life. Assemble after lunch, serve after dinner, and spend the in-between doing something else entirely.
The Crumb Crust: One Formula, Endless Desserts
If you memorize one thing, make it this: crushed cookies plus melted butter, pressed into a dish and chilled. Roughly two cups of crumbs to five or six tablespoons of butter, mixed until it holds together when squeezed, like damp sand. Graham-style crackers, chocolate sandwich cookies, gingersnaps, digestive biscuits — nearly any crisp cookie works, and each one changes the personality of the dessert. Crush them in a zipped bag with a rolling pin (satisfying) or a food processor (fast), stir in the butter, press firmly into a pie dish or the bottoms of small glasses, and chill while you make the filling. That’s the foundation under half the no-bake canon.
Five Desserts to Start With
Each of these is minutes of assembly, and each forgives improvisation:
- Icebox cake. Layer crisp cookies with whipped cream and refrigerate overnight; the cookies soften into tender, cake-like layers all on their own.
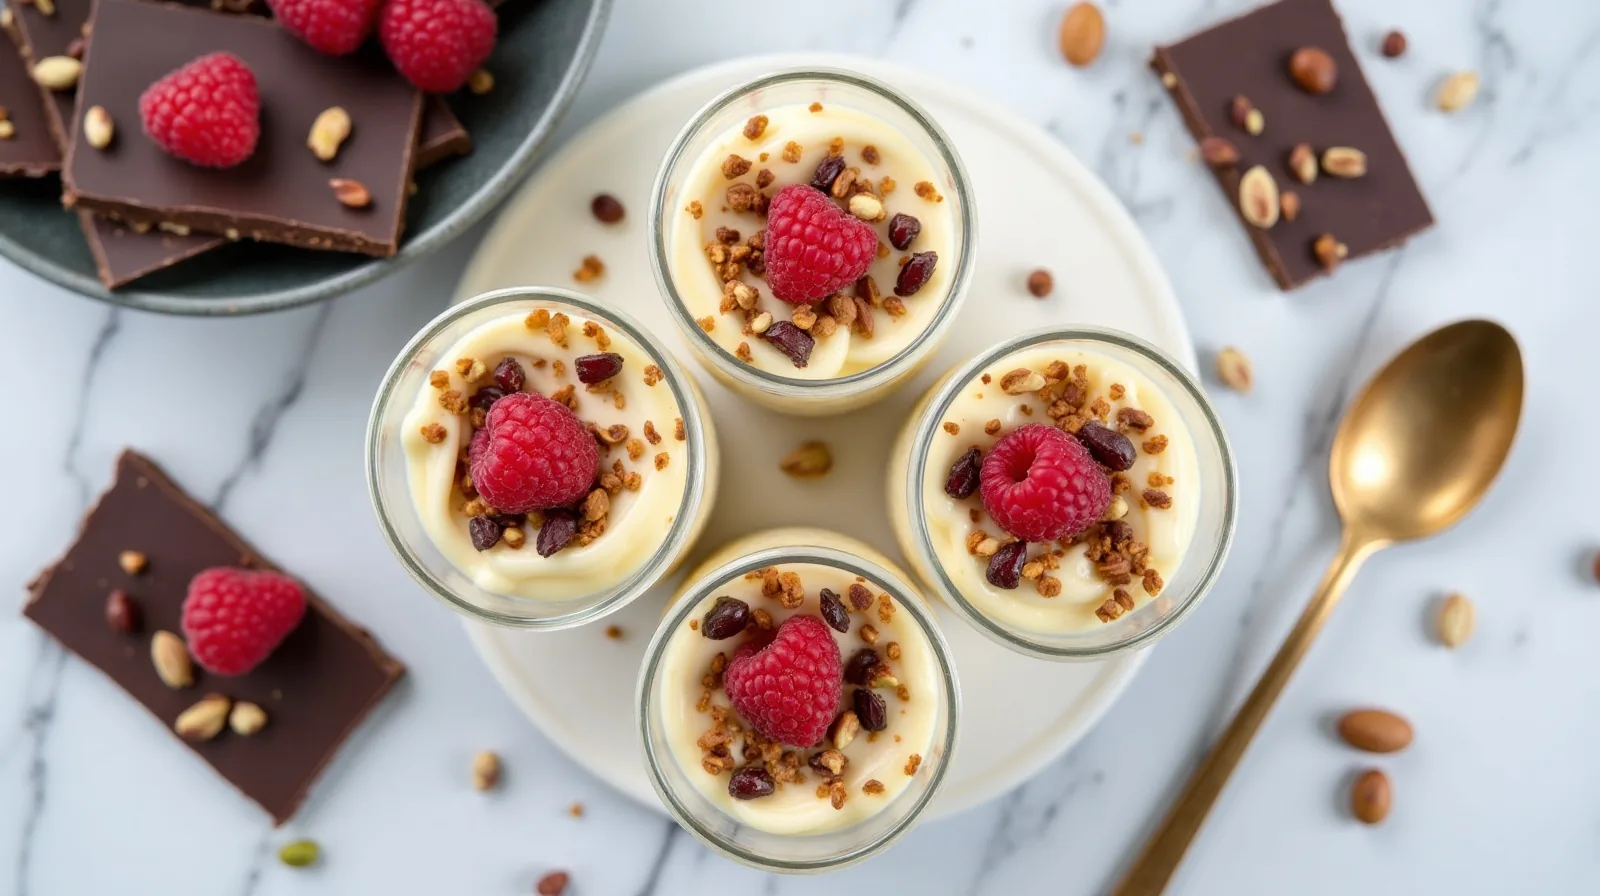
- No-bake cheesecake cups. Beat cream cheese with a little sugar and vanilla, fold in whipped cream, spoon over crumb crusts in cups, and chill until set.
- Chocolate bark. Melt chocolate, spread it thin on parchment, scatter nuts, dried fruit, or crushed cookies over the top, and let it set.
- Fruit-and-cream parfaits. Layer berries, whipped cream or thick yogurt, and crumbs in glasses — five minutes of work, dressed up enough for guests.
- Oat and nut-butter bites. Stir oats, nut butter, honey, and a handful of chocolate chips; roll into balls and chill until firm.
Small Tricks That Make Them Look Finished
The difference between “bowl of stuff” and “dessert” is mostly the top layer and the chill time. Give things a real minimum in the fridge — two to three hours for cups and pies, overnight for icebox cakes — because the texture change is the whole trick. Then finish deliberately: chocolate shavings pulled from a bar with a vegetable peeler, a few whole berries, a dusting of crumbs saved back from the crust, a pinch of flaky salt on anything chocolate. Serve in clear glasses whenever you can, because the layers do the decorating for you. Nobody ever tastes the oven you didn’t use.