
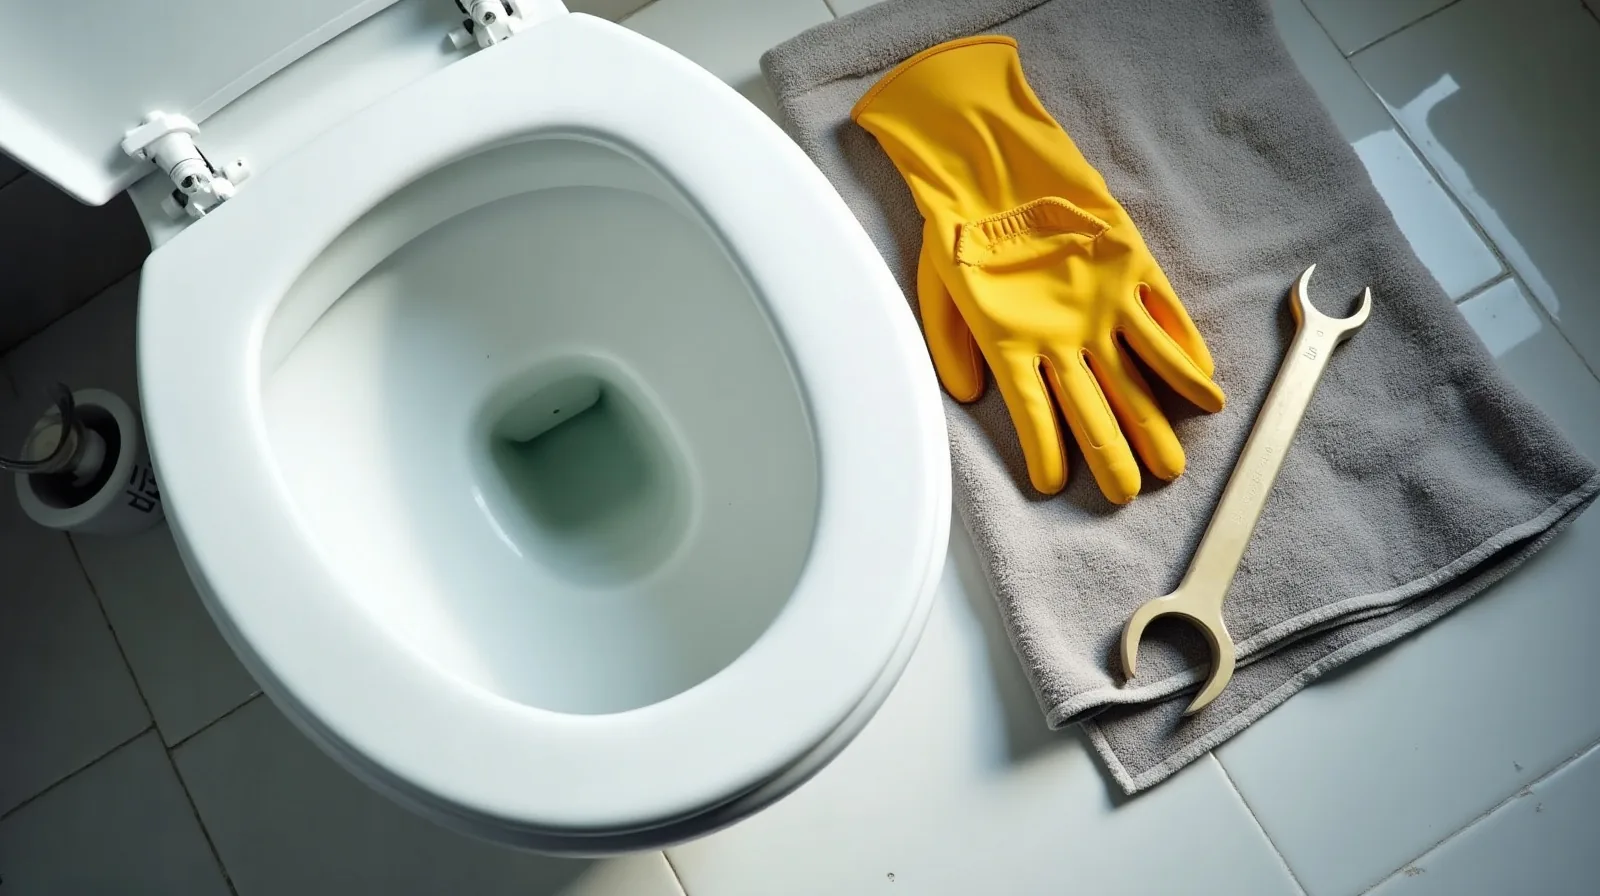
A running toilet is easy to ignore and expensive to keep. That faint, endless trickle can waste a startling amount of water — often hundreds of gallons a day in the worst cases — and it quietly shows up on the water bill until someone deals with it. Here’s the encouraging part: the inside of a toilet tank is one of the simplest machines in your house, the water in the tank is clean, nothing in there is electrical, and the part causing the problem usually costs less than a sandwich. This is about as friendly as home repair gets.
Meet the Four Parts That Matter
Lift the tank lid (set it somewhere safe — it cracks easily) and you’ll find the whole cast. The flapper is the rubber seal at the bottom that lifts when you flush and drops to hold water in the tank. The fill valve is the column that refills the tank afterward. The float — a cup around the fill valve or a ball on an arm — tells the fill valve when the tank is full. And the overflow tube is the open pipe in the middle that drains excess water into the bowl if the level creeps too high. Nearly every running toilet is one of these four misbehaving.
Find the Culprit in Five Minutes
Two quick checks identify the problem. First, look at the overflow tube: if water is trickling into its top, the tank is overfilling — that’s a float set too high or a worn fill valve. If the water level is fine but the toilet still runs, do the dye test: put a few drops of food coloring in the tank, wait fifteen minutes without flushing, and check the bowl. Color in the bowl means water is sneaking past the flapper — the single most common cause. And if the toilet only runs until you jiggle the handle, the chain or handle is the whole story.
The Fixes, Easiest First
- Adjust the chain. The chain between handle and flapper wants about a half inch of slack — too tight and the flapper can’t seat, too loose and it tangles underneath.
- Lower the float. Turn the adjustment screw or slide the clip so the water settles about an inch below the top of the overflow tube.
- Replace the flapper. Turn off the supply valve behind the toilet, flush to empty the tank, unhook the old flapper, and take it to the hardware store to match. Snapping the new one on takes two minutes.
- Replace the fill valve. If the tank hisses constantly or refills at random, the valve is worn. A universal replacement comes with instructions; you’ll need the supply off, a towel down, and about half an hour.
- Check the handle. A sticking or corroded handle can hold the flapper open all on its own — tighten or replace it.
When to Call the Plumber After All
A few situations end the DIY portion of the evening. If the shutoff valve behind the toilet won’t turn or starts leaking when you try, stop — forcing a seized valve can turn a trickle into a flood. Water pooling at the base of the toilet, cracks in the tank or bowl, or a toilet that still runs after a new flapper and fill valve all point to problems beyond the tank’s simple machinery. There’s no shame in that call: you’ll make it already knowing exactly what the problem isn’t, which is its own kind of win.