Every chair, couch and car seat asks the body to squat, which makes it one of the most useful movements to practice on purpose. It also has a reputation for hurting knees and backs, mostly because it often gets taught as a depth contest. A calmer approach, with attention to stance and a steady spine, makes the movement comfortable first and deeper later.
Why the Squat Earns Its Place
Standing up from a low seat uses the thighs, glutes and trunk together, which is the same teamwork needed for climbing stairs, lifting a laundry basket or getting off the floor. Public health guidelines generally recommend muscle-strengthening activity on a couple of days each week, and squat patterns are one of the most practical ways to cover the legs. Because the movement needs no equipment, it fits almost anywhere, from a living room to a backyard.
Set Your Stance First
Most form problems are settled before the first rep. Stand with the feet roughly shoulder-width apart, with toes turned out slightly, perhaps ten to thirty degrees, whatever feels natural for your hips. The weight should rest evenly through the whole foot, not collapse onto the toes or the inner arches.
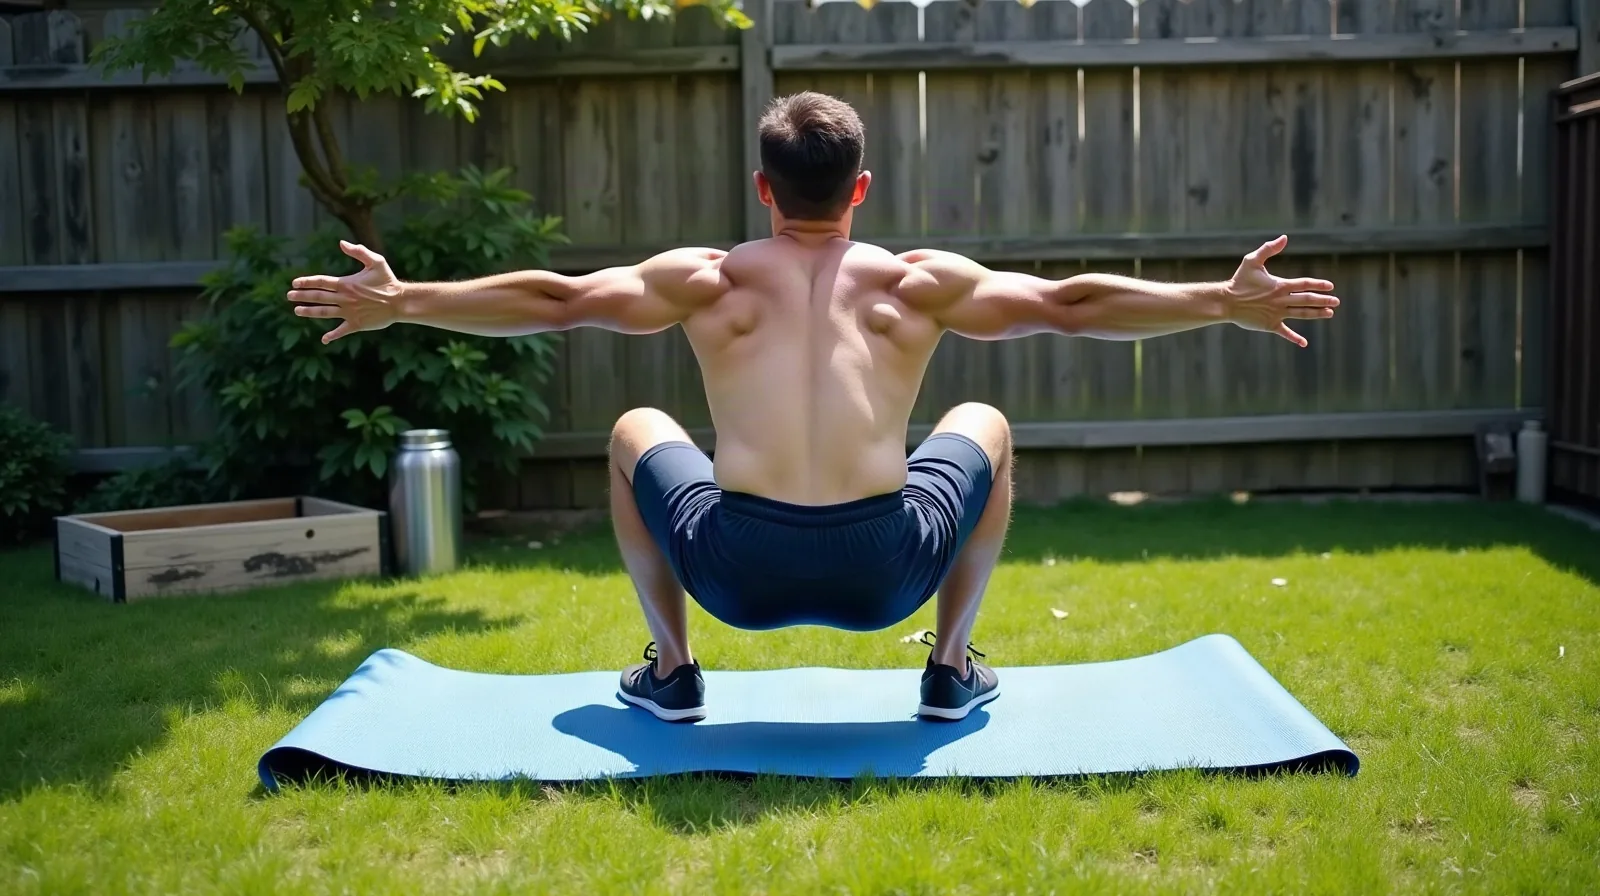
Next, brace gently. Take an easy breath into the belly, tuck the ribs down toward the hips and reach the arms forward for balance. That small reach acts as a counterweight, so the hips can travel back without the torso tipping too far forward.
Sit Back, Then Down
The cue that fixes the most squats is to start by pushing the hips back, as if aiming for a chair behind, and then let the knees bend. The knees may drift forward over the toes, which is normal and often necessary, but they should follow the direction the toes point rather than caving inward. If they wobble in, think about gently spreading the floor apart with the feet.
Go only as low as the spine stays long and the heels stay planted. Depth varies with hip structure, ankle flexibility and body proportions, so a parallel squat is not a requirement for everyone. Stand by pressing through the whole foot and squeezing the glutes at the top, without leaning back at the finish.
Build Depth in Small Steps
A sturdy box, bench or chair is the best coach for beginners. Squat down until lightly touching the seat, then stand without rocking, and lower the seat height over several weeks as the movement feels smooth. Two or three days a week is plenty to start, with a day between sessions, and sets of six to ten slow repeats leave room for good form.
Anyone with knee, hip or back pain, balance concerns, pregnancy, or a long break from exercise should check with a doctor or a qualified professional before starting, and a trainer can watch form in person. A few habits keep practice productive:
- Film a side view. A quick phone clip shows whether the back stays steady.
- Slow the way down. Three seconds on the descent builds control.
- Keep the heels down. Lifting them usually means the stance or depth needs adjusting.
- Stop short of pain. Muscle fatigue is normal, but sharp joint pain is a signal to rest.
- Add load last. Hold a weight only after bodyweight reps feel easy and clean.
Treated as a skill rather than a test, the squat quietly becomes one of the easiest wins in a week of exercise.