Picking up a laundry basket, a bag of groceries or a toddler looks simple, yet the way most people bend down is the way the back ends up complaining. The usual habit is to round the spine and let the lower back do the lifting. The hip hinge is the alternative: a movement where the hips travel backward, the spine stays long, and the glutes and hamstrings take the load. Once the pattern is learned, it works for chores, gardening and strength training alike.
What a Hinge Actually Is
A squat bends the knees a lot and sits the hips down. A hinge bends the knees only a little and sends the hips back, like closing a car door with your backside. The torso tips forward as a single piece, while the back stays in a neutral, naturally curved line from head to tailbone.
That shape matters because the hips are built for big, powerful work, while the lower back is better at holding steady. Strength guidelines for adults generally recommend working the major muscle groups a couple of days a week, and the hinge is the foundation of many of those moves, from deadlifts to swings.
Learn It With a Broomstick
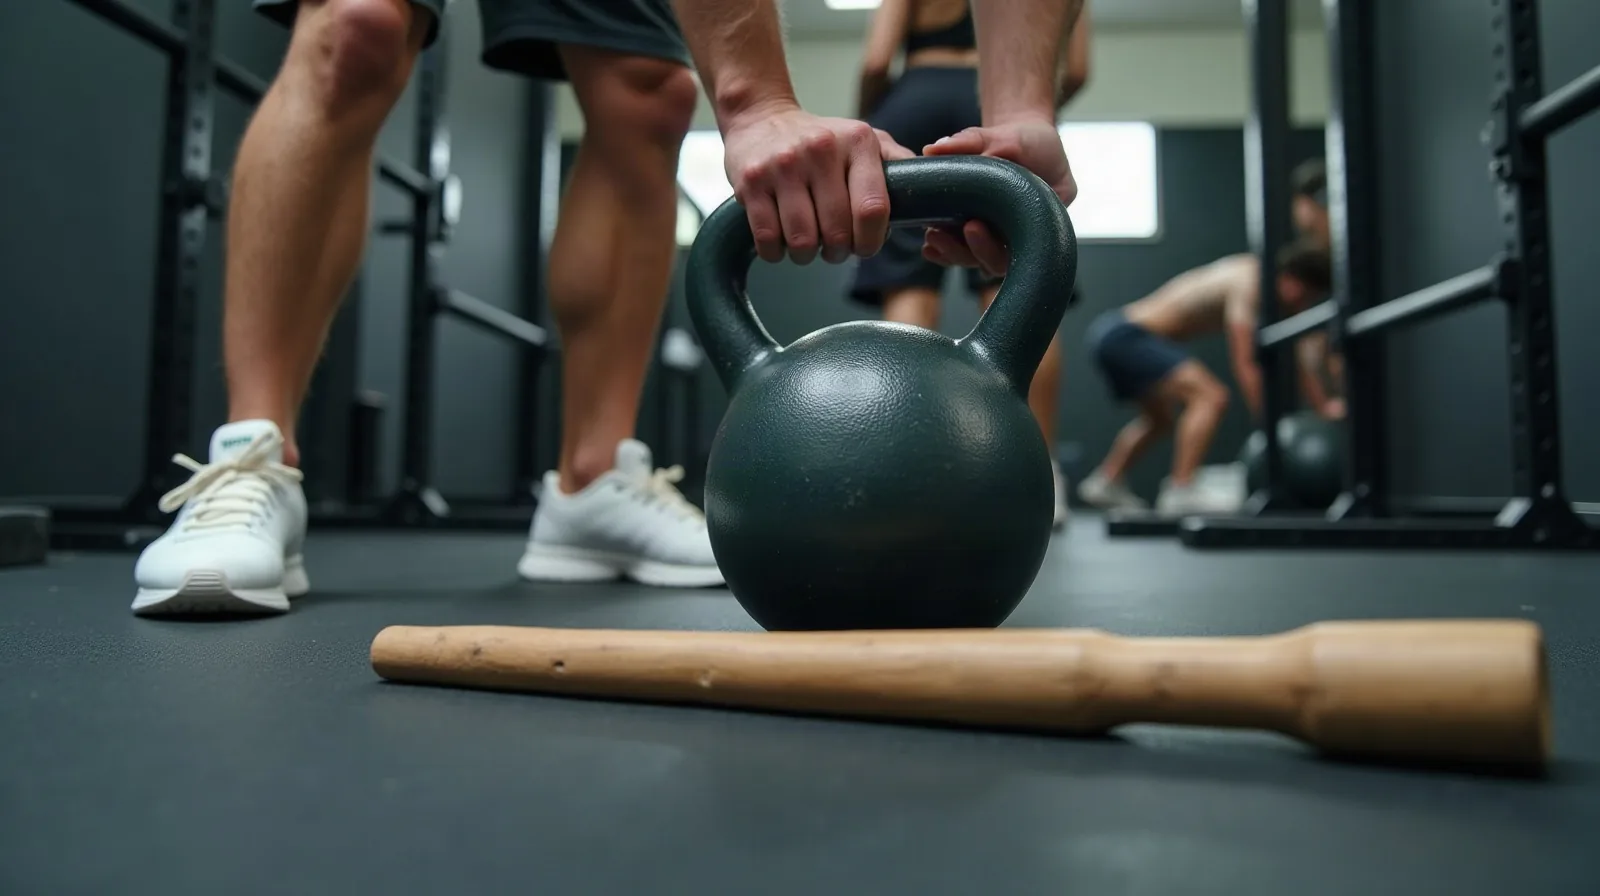
A broomstick or long dowel is the classic teaching tool because it gives instant feedback. Hold it along your spine with one hand at the back of the neck and the other at the small of the back. Three points should stay in contact the whole time: the back of the head, the upper back and the tailbone.
Stand with feet about hip width apart and knees soft. Push the hips straight back, as if reaching for a wall behind you, and let the chest tip forward. Stop when you feel a stretch along the back of the thighs, or when the stick starts to lose contact. Then squeeze the glutes and drive the hips forward to stand tall.
Common Mistakes to Watch For
The most frequent error is turning the hinge into a squat by dropping the hips and bending the knees deeply. Keep the shins nearly vertical and think back, not down. The second is rounding at the lower back to reach farther. If the stick leaves the tailbone, the hinge has gone as far as it should for today.
Others are looking up at the ceiling, which strains the neck, and letting the weight drift onto the toes. Keep the weight over the mid-foot and the eyes on the floor a few feet ahead. Anyone with ongoing back pain, a past disc problem or other health concerns should check with a doctor or a qualified professional before adding new lifting patterns. A few cues help it stick:
- Hips back first. Start every rep by pushing the hips behind you.
- Soft knees. Bend them slightly, but keep the shins close to vertical.
- Long spine. Imagine a straight line from the crown of the head to the tailbone.
- Brace lightly. Tighten the belly as if ready for a gentle nudge.
- Finish with the glutes. Stand tall by squeezing, not by leaning back.
Put It to Work
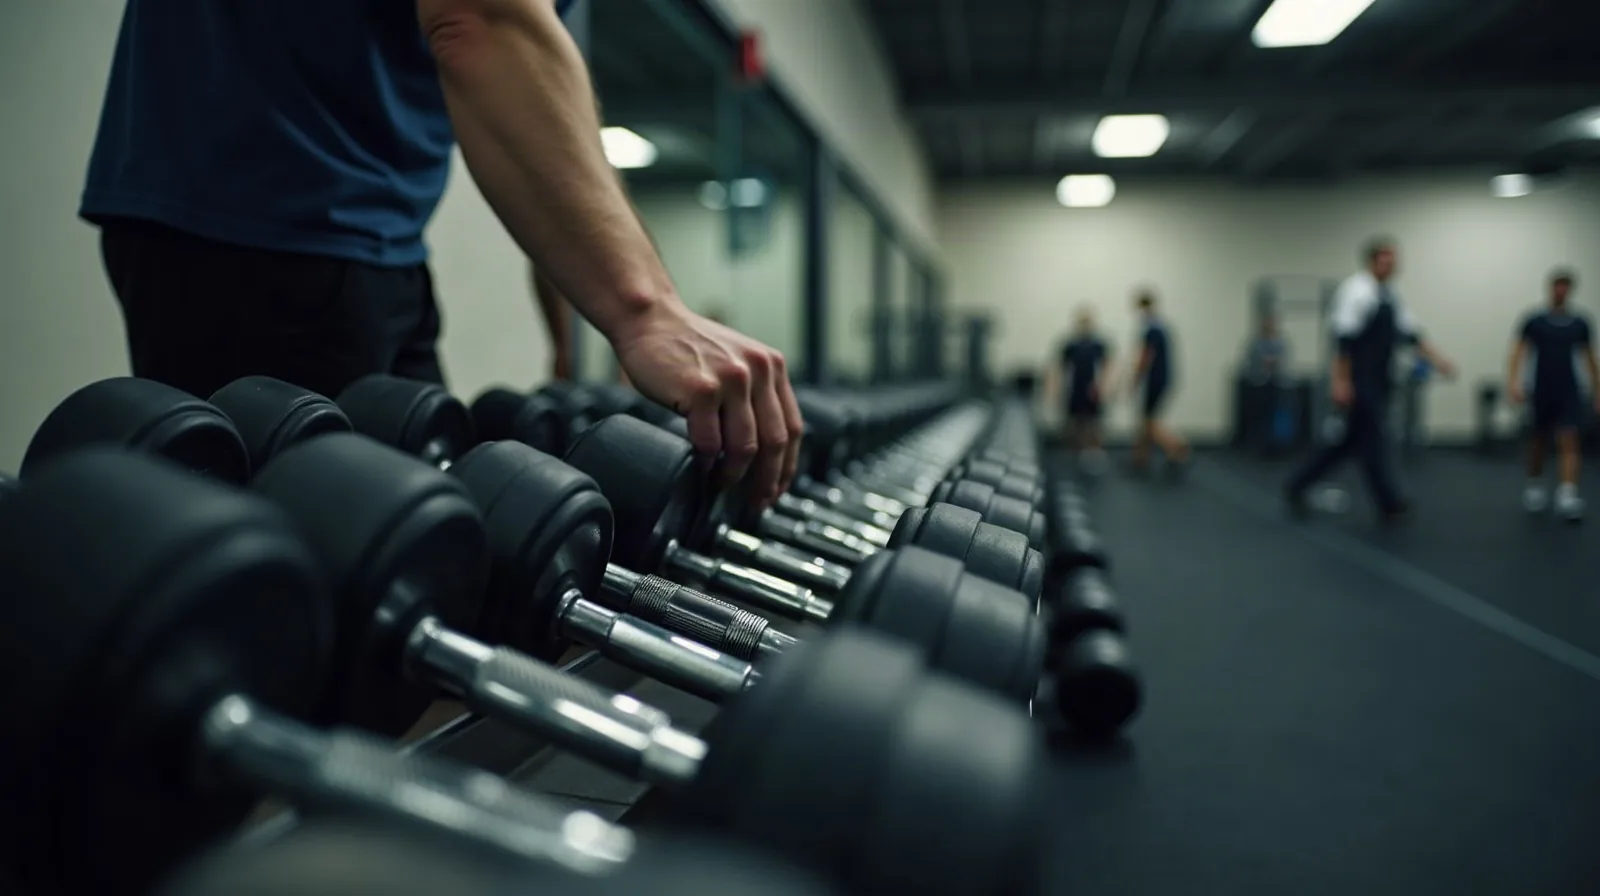
Practice ten slow reps with the stick, two or three days a week, then repeat the same motion without it. After that, use the hinge for real tasks: lifting a box, loading the dishwasher, emptying the laundry or picking up a pet bowl. When the pattern feels automatic, a light kettlebell or dumbbell held in both hands makes a natural next step, adding weight only when form stays steady.
Stay patient with tight hamstrings. They limit how far you can hinge, and the range grows over weeks of regular practice. A short, clean hinge is better than a deep, rounded one.