Homemade pie crust has a reputation for being fussy, but most failures trace back to two things: warm butter and too much handling. Get those right and a crisp, flaky crust is well within reach, even on a first try.
Why Cold Butter Makes the Flakes
Flakiness comes from small, flat pieces of solid butter scattered through the dough. In a hot oven, the water in that butter turns to steam and pushes the layers of dough apart, leaving thin, crisp sheets behind. If the butter melts into the flour before baking, there is nothing left to make steam, and the crust bakes up dense and tough instead.
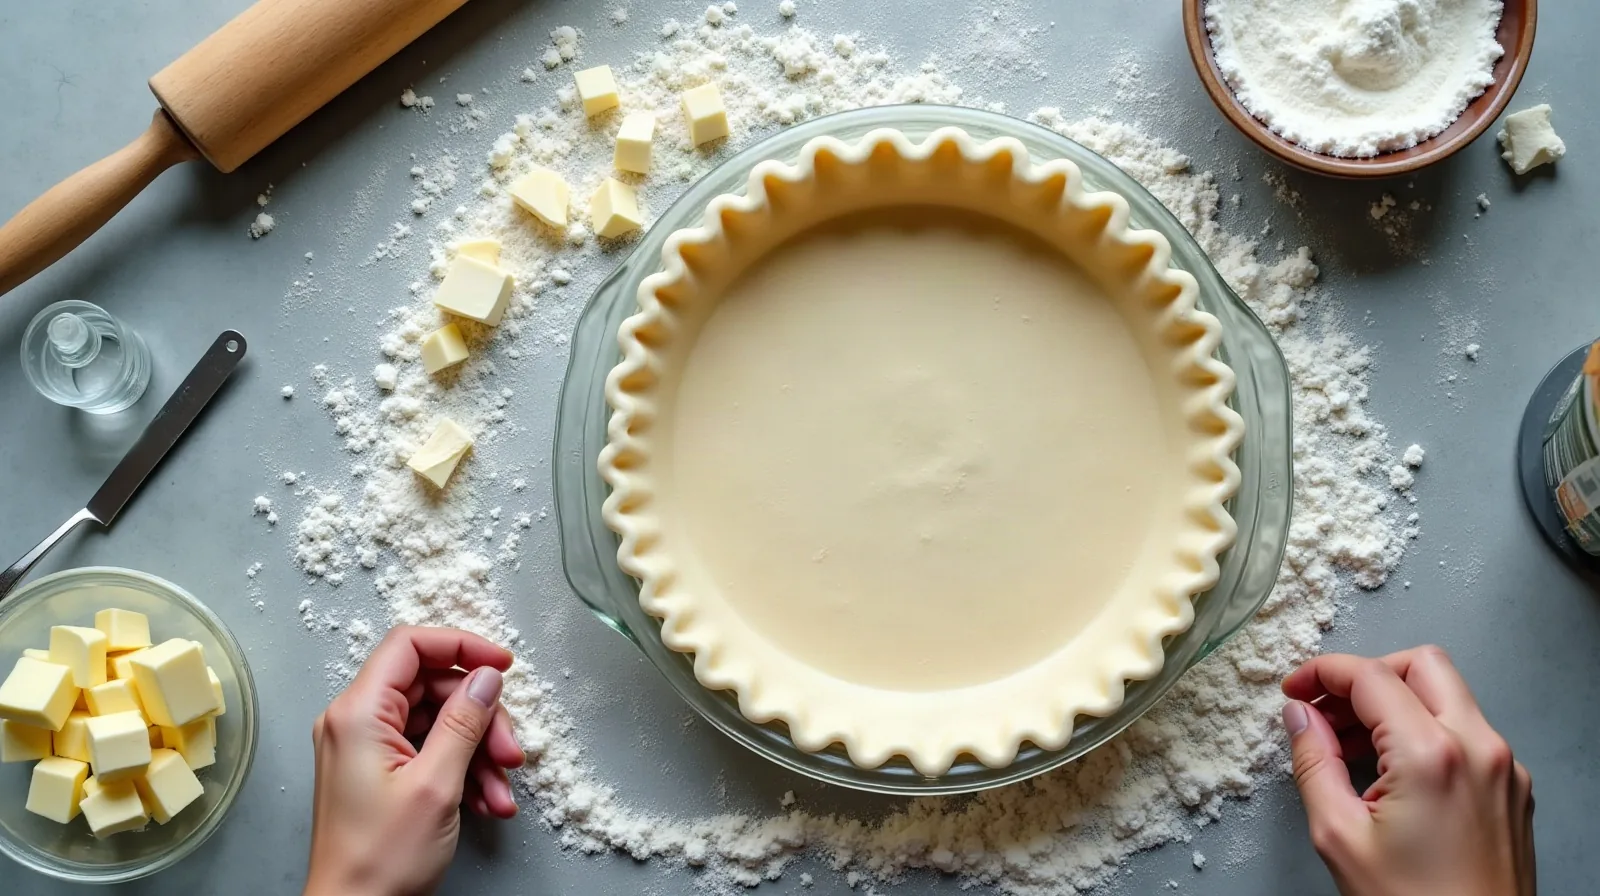
That is why every step aims to keep the butter cold. Cut a stick of unsalted butter into cubes and return it to the freezer for ten minutes while you measure everything else. On a warm day, chill the bowl and the flour too. A single crust for a nine-inch pie needs about one and a quarter cups of all-purpose flour, half a teaspoon of salt, one stick of butter, and three to five tablespoons of ice water.
Mix the Dough Without Overworking It
Whisk the flour and salt together, add the cold butter cubes, and toss them so every piece gets coated. Then work the butter in with a pastry blender, two forks, or quick fingertips, pressing and flattening rather than rubbing. Stop when the mixture looks shaggy, with most of the butter in pieces about the size of peas and a few bigger flakes left in. Those leftover chunks are a good sign, not a mistake.
Drizzle in the ice water a tablespoon at a time, tossing with a fork after each addition. The dough is ready when a handful squeezed in your palm holds together without crumbling apart. Kneading or stirring past this point builds gluten, the stretchy network that makes bread chewy and pie crust tough and prone to shrinking.
Chill, Then Roll With Confidence
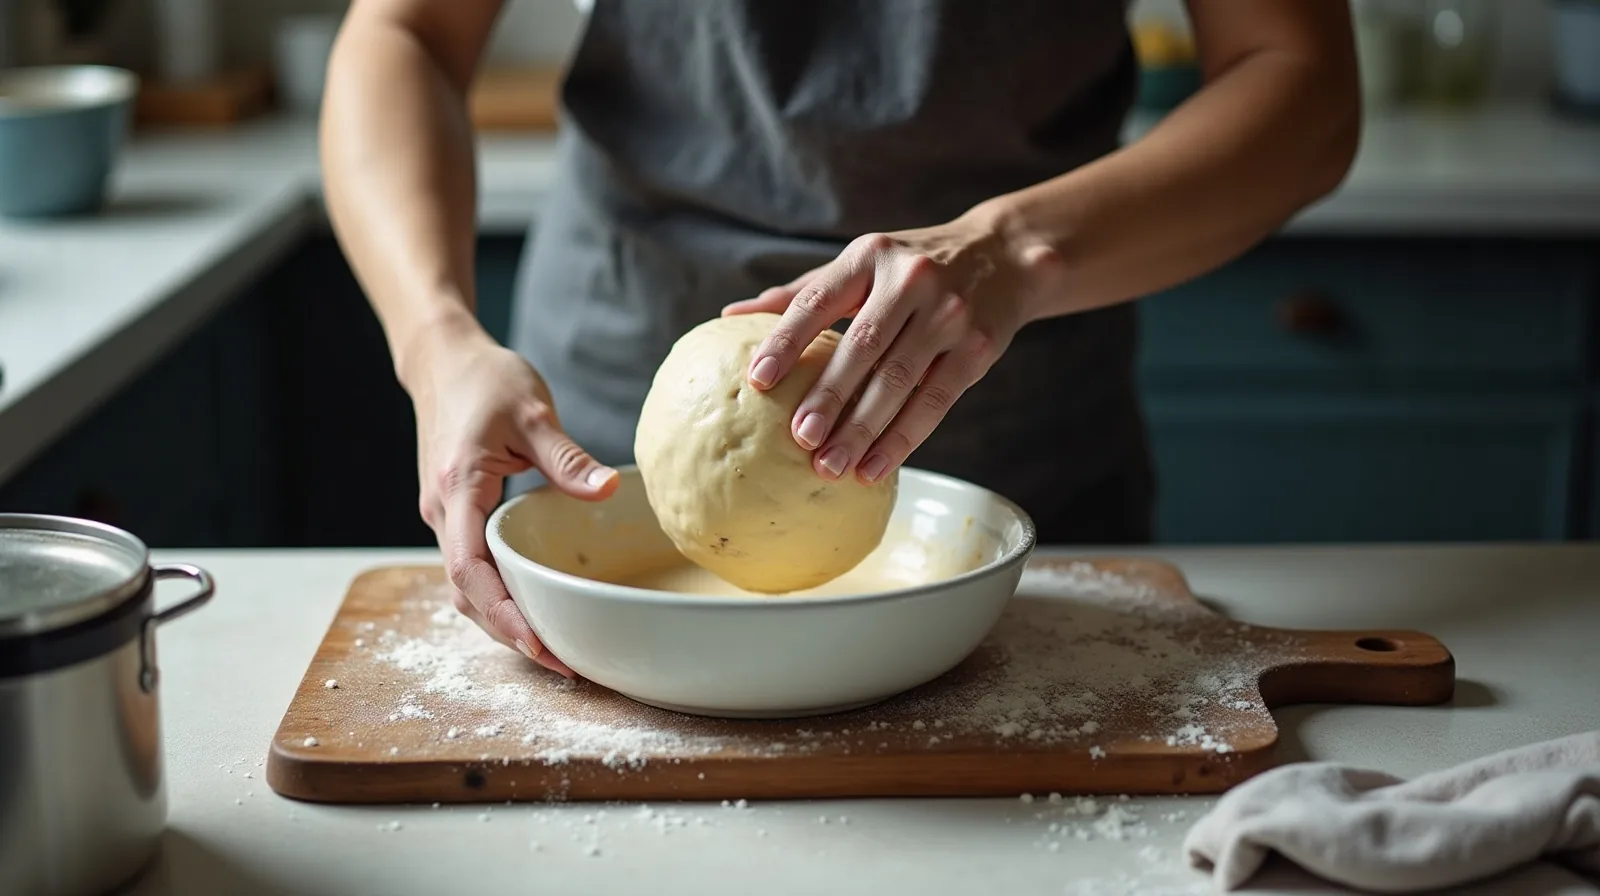
Tip the dough onto the counter, gather it into a ball, and press it into a flat disc about an inch thick. Wrap it and refrigerate it for at least an hour, or up to two days. The rest firms the butter back up and lets the flour absorb the water evenly, which makes the dough far easier to roll. Wrapped well, the disc also keeps in the freezer for a few months.
Roll on a lightly floured counter, starting from the center and pushing outward, then give the dough a quarter turn every few strokes so it stays round and never sticks. Aim for a circle about two inches wider than the pie plate. If the edges crack, pinch them back together, and if the dough turns soft and greasy, slide it onto a sheet pan and chill it for ten minutes before going on.
Bake It So It Holds Its Shape
Drape the dough over the rolling pin, lay it into the plate, and ease it into the corners without stretching it, since stretched dough shrinks back in the oven. Trim the overhang, fold it under, and crimp the edge. Then chill the lined plate again for twenty to thirty minutes before baking. A few habits help it bake up crisp:
- Bake it hot — around 400°F lets the butter steam fast and set the layers.
- Weigh it down — for an empty or custard pie, line the crust with parchment and fill it with dried beans or pie weights.
- Use the lower rack — closer heat underneath helps prevent a pale, soggy bottom.
- Shield the edge — a ring of foil stops the crimped rim from over-browning on a long bake.
For a blind-baked shell, bake with the weights for about twenty minutes, lift them out, and bake another eight to ten minutes until the bottom looks dry and lightly golden. A deep golden color means flavor, so resist pulling it early.