Somewhere between the rained-out afternoon and the fourth “I’m bored,” every parent faces the same choice: screens, or something with hands. The catch is that “doing a craft” sounds like it requires a supply run and a small budget — and it doesn’t. The recycling bin, the junk drawer, and the sock basket already hold everything a good afternoon of making needs. The projects below cost roughly nothing, suit a wide range of ages, and have a bonus feature the craft-store kits can’t match: when the materials are trash to begin with, nobody minds how it turns out.
Start a Scrap Box
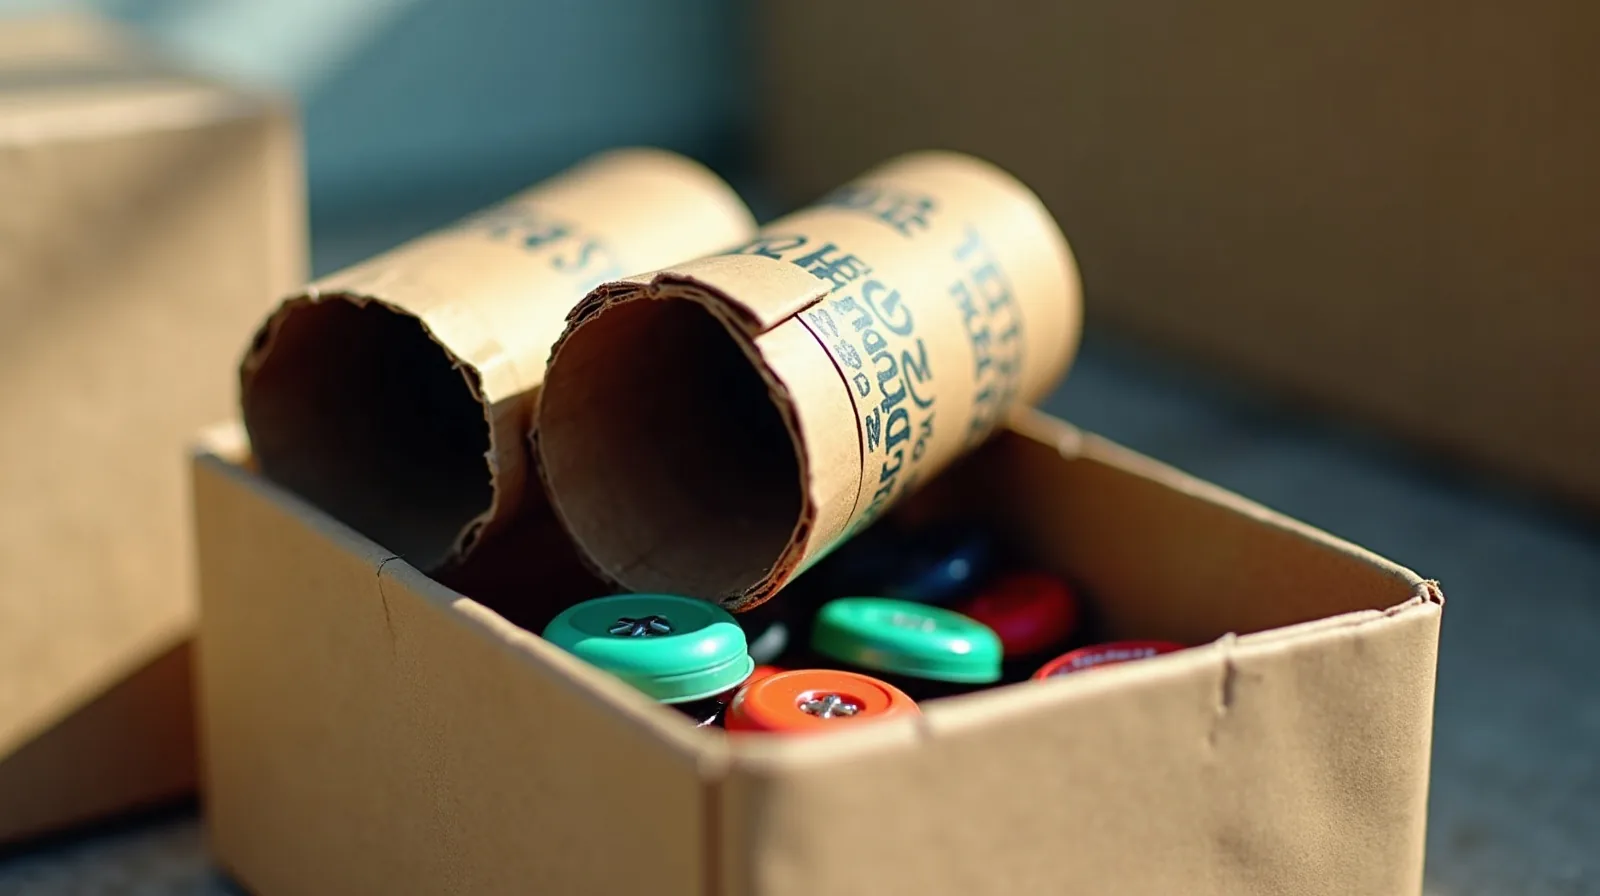
The single best craft investment is a shoebox with a label. Into it goes the stuff you were about to throw away: cardboard tubes, egg cartons, cereal boxes, bottle caps, orphan buttons, ribbon from gifts, fabric scraps, interesting junk mail. Alongside it, a small kit of connectors — school glue, tape, safety scissors, markers, maybe some old crayons. That’s the whole setup. Once a scrap box exists, “can we do a craft?” stops being a shopping question and becomes a “go get the box” question, and kids start eyeing the recycling with the speculative look of small inventors.
Six Projects Straight From the Bin
- Cardboard-tube binoculars. Two tubes taped side by side, a string stapled on, decorated with markers — then an expedition around the backyard or out the window to use them.
- Egg-carton creatures. Cut the cups apart and stack or line them up: caterpillars, ladybugs, tiny monsters. Buttons make excellent eyes; paper scraps make wings.
- Sock puppets. The orphan-sock basket finally pays off. Buttons for eyes, yarn or paper for hair, and a cardboard-tube stage if the ambition strikes.
- Paper-plate masks. Eye holes cut by an adult, then decorated into lions, robots, or something unclassifiable. A craft stick taped to the edge makes a handle.
- Junk-mail collage. Old catalogs and flyers, safety scissors, a glue stick, and a theme — “things that are yellow,” “food we wish we had” — turn advertising into art.
- Cereal-box marble run. Tubes and folded box cardboard taped to the side of a big carton so a marble (or a rolled foil ball for little ones) zigzags to the bottom. Half craft, half engineering lesson.
Set Up for the Mess, Not Against It
Craft afternoons go wrong when the cleanup dread outweighs the fun, so build the mess into the plan. An old sheet or opened-out garbage bag under the work zone, oversized old T-shirts as smocks, glue on a plastic lid instead of straight from the bottle, and a “scraps bowl” on the table so trimmings have somewhere to land. Keep a damp cloth within arm’s reach rather than across the kitchen. And match tools to ages: safety scissors and glue sticks for small hands, with an adult handling anything sharp and any cutting through stiff cardboard — box cardboard is tougher than it looks.
Let the Project Be Theirs
The hardest part of crafting with kids isn’t the glue — it’s resisting the urge to fix things. The lopsided eyes, the seventeenth layer of tape, the mask that abandoned the plan entirely: that’s not the craft going wrong, that’s the craft working. The making is the point; the object is a souvenir. So ask questions instead of straightening — “what’s this part do?” beats “let’s glue that on straight” — and when it’s done, give the result a real moment: a spot on a shelf, a title, a photo before the tape gives out. A kid whose wobbly binoculars got displayed like a trophy will be back at the scrap box tomorrow.