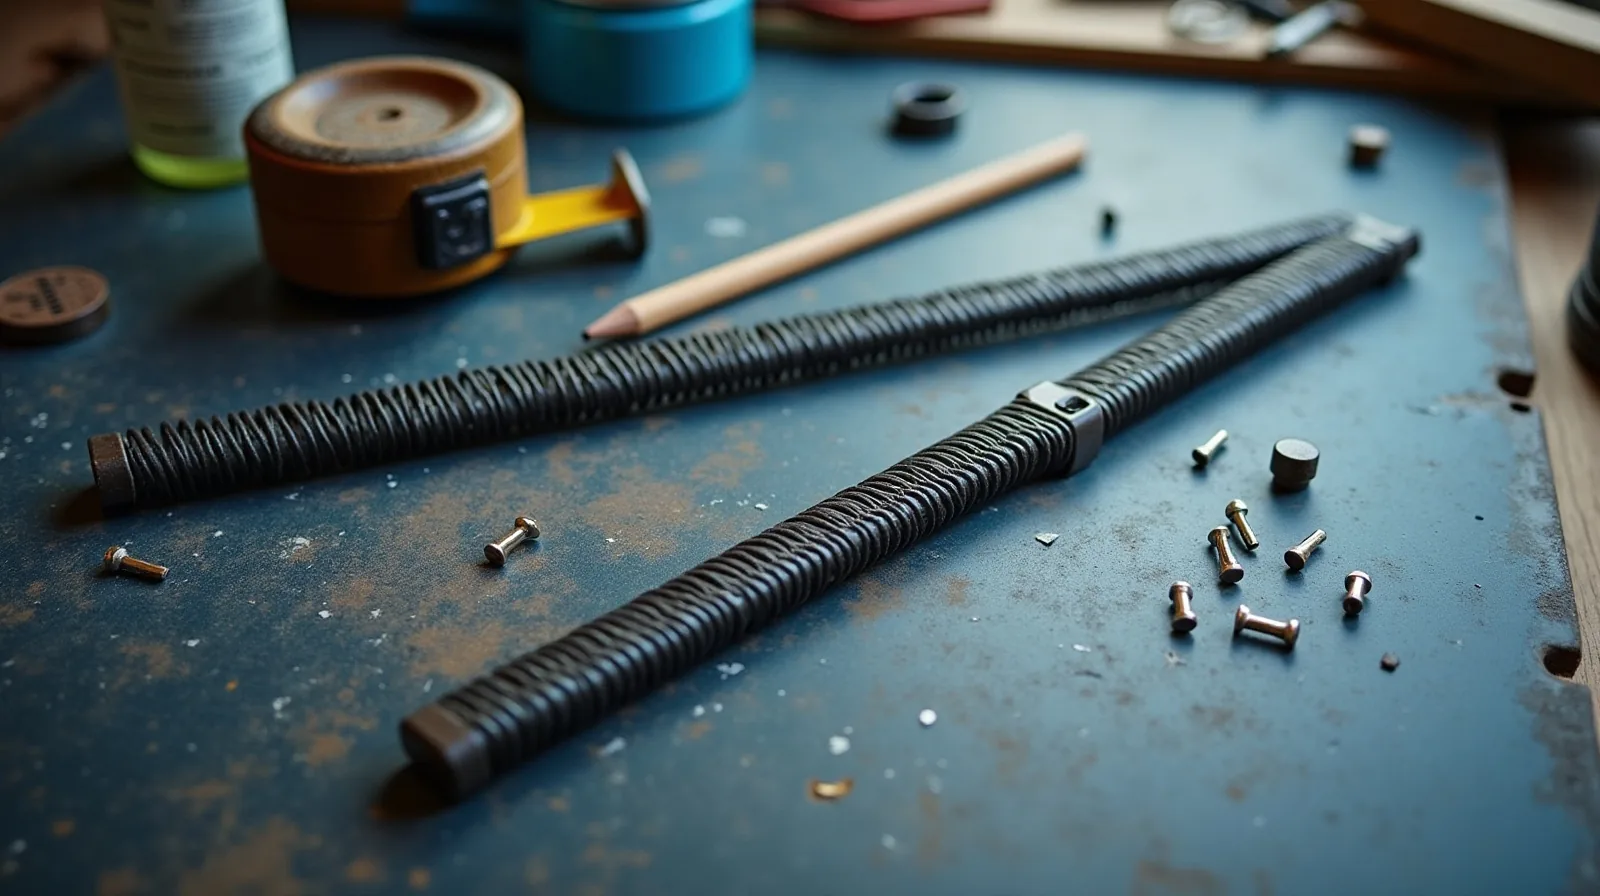
Curtains are one of the few things in a room where the price of the fabric matters less than the placement of the rod. A cheap panel hung correctly reads as intentional. An expensive one mounted right at the top of the window frame, stopping a few inches short of the floor, reads as an accident. Most rooms with sad-looking window treatments have nothing wrong with the curtains themselves. The rod is too low and too short, and the panels are hanging at whatever length they came in.
Hang High and Wide
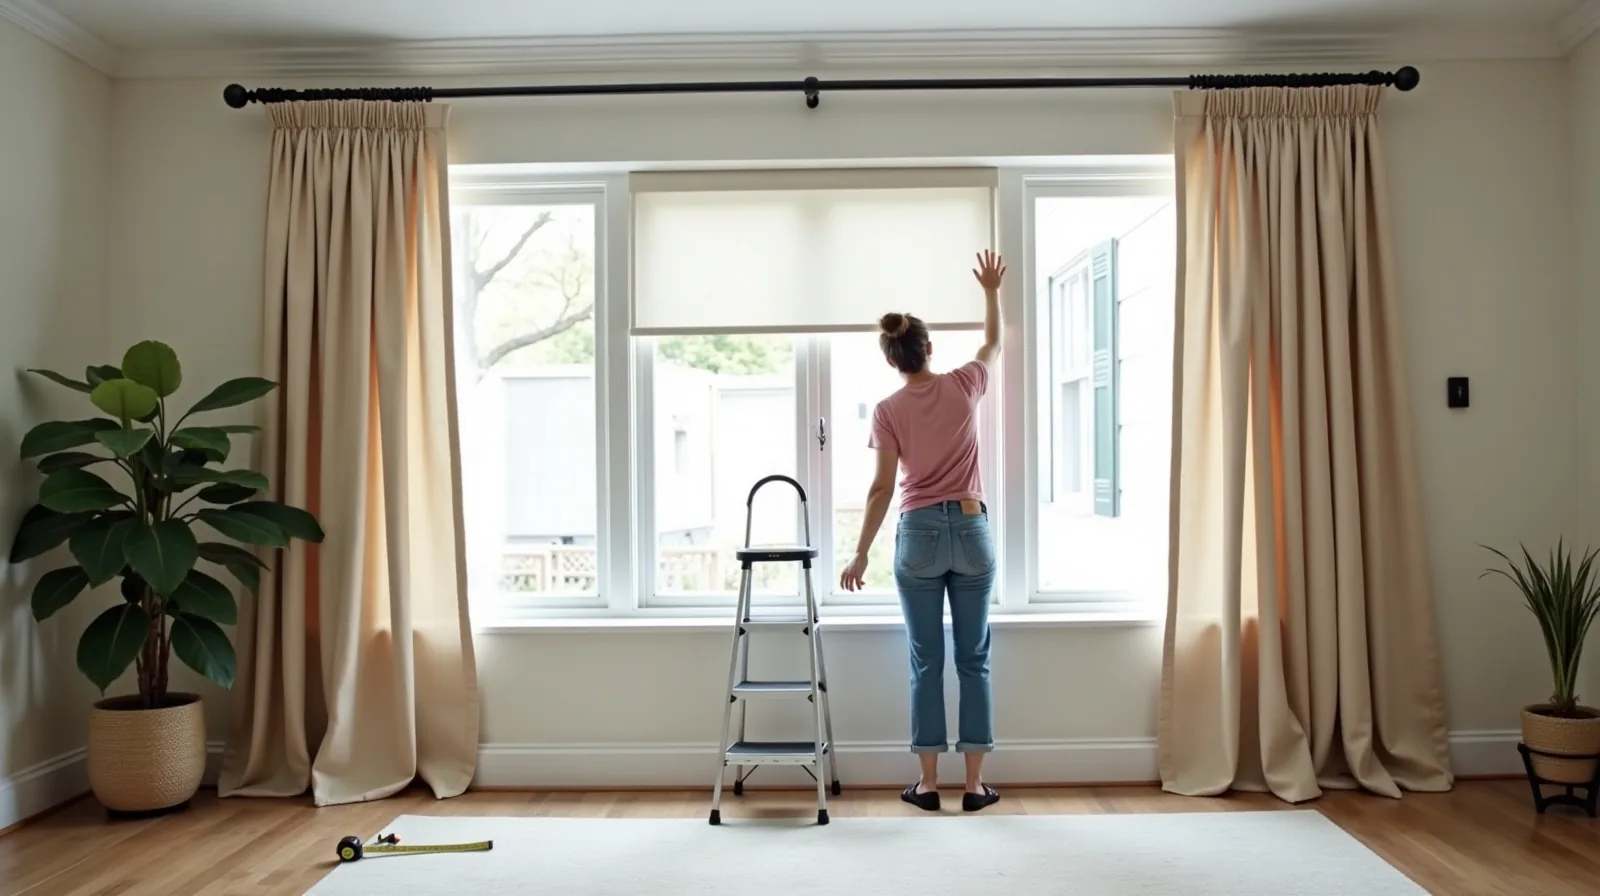
Two decisions do most of the work. Mount the rod well above the window frame, roughly halfway between the top of the frame and the ceiling, or just under the crown molding if there is any, so the eye reads the window as taller than it is. Then run the rod past the frame on both sides, far enough that the open panels stack against solid wall instead of covering glass. Six to twelve inches per side suits most rooms. The window looks wider, more daylight gets through, and fabric hanging against wall drapes better than fabric bunched over a frame.
Long rods sag under weight, so add a center support bracket on anything over about six feet.
Length Is the Whole Tell
Panels should reach the floor. That is the single most reliable difference between curtains that look custom and curtains that look temporary. Three finishes are worth considering: floating a half-inch above the floor, which suits high-traffic rooms and anything pulled daily; just kissing the floor, which is the cleanest; and a slight break, an inch or two of extra length that pools softly, which looks generous and collects more dust. Measure from the bottom of the ring to the floor rather than from the top of the panel, and measure at several points — floors are rarely level.
Let a Blind Do the Real Work
The most economical setup splits the two jobs a window treatment performs. An inexpensive roller, cellular or roman blind mounted inside the frame handles light and privacy. A pair of fixed decorative panels on either side handles the look. Those panels never have to close, which means they can be a lighter, cheaper fabric in a standard length, and they never take the daily wear that makes budget hardware fail. It also produces the layered look people associate with designed rooms, at a fraction of the cost of full blackout-lined drapery.
Weight, Fabric and No-Sew Fixes
Thin panels are what make cheap fabric look cheap. They flutter, they show the rod through, and they refuse to hold a fold. Weight solves most of that, and none of the fixes below need a sewing machine.
- Line them from behind. A plain second panel hung on its own clip rings behind the first adds body and blocks light for less than lined curtains cost.
- Hem with fusible tape. Iron-on hem tape takes a panel to an exact floor length in about ten minutes per side, with no stitching involved.
- Weight the bottom corners. Clip-on drapery weights, or a length of chain slipped into the hem, stop the fluttering and pull the drape straight.
- Switch to clip rings. Rings with clips hang almost any fabric, gain an inch or two of height, and slide far better than a sewn rod pocket.
- Steam, then train the folds. Steam the panels on the rod, then tie them loosely into even folds for a few days so the fabric learns to hang in columns instead of waves.